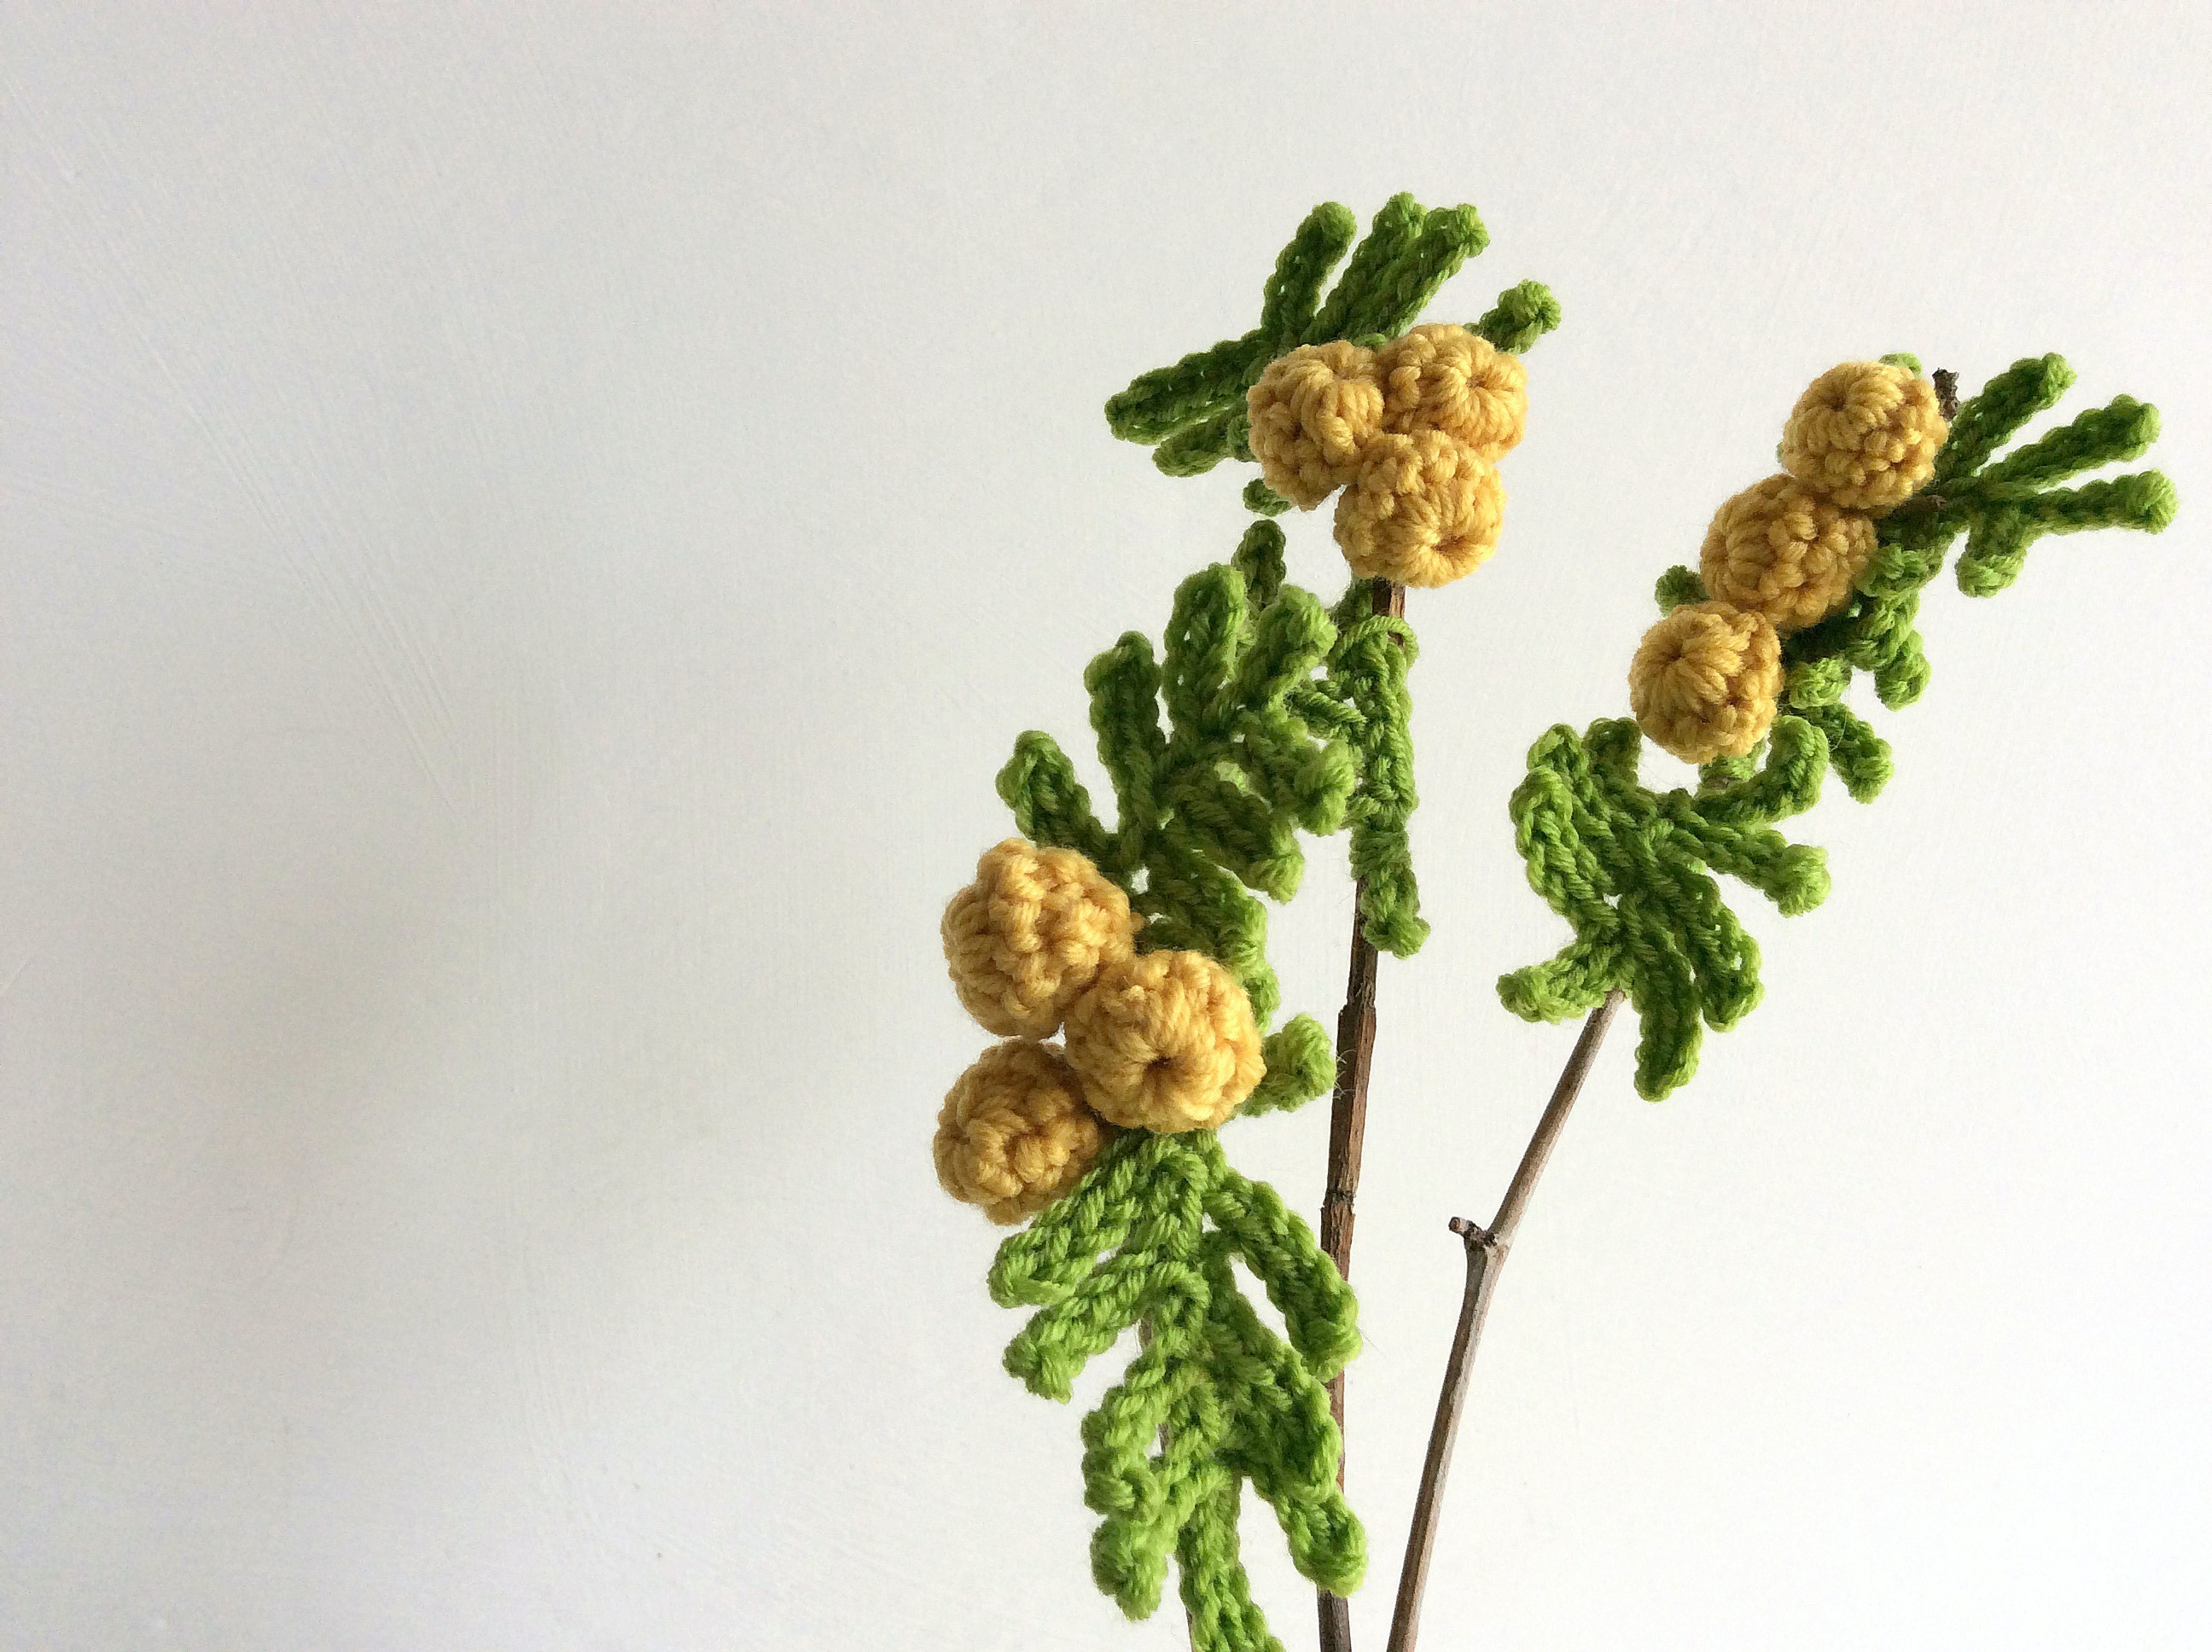
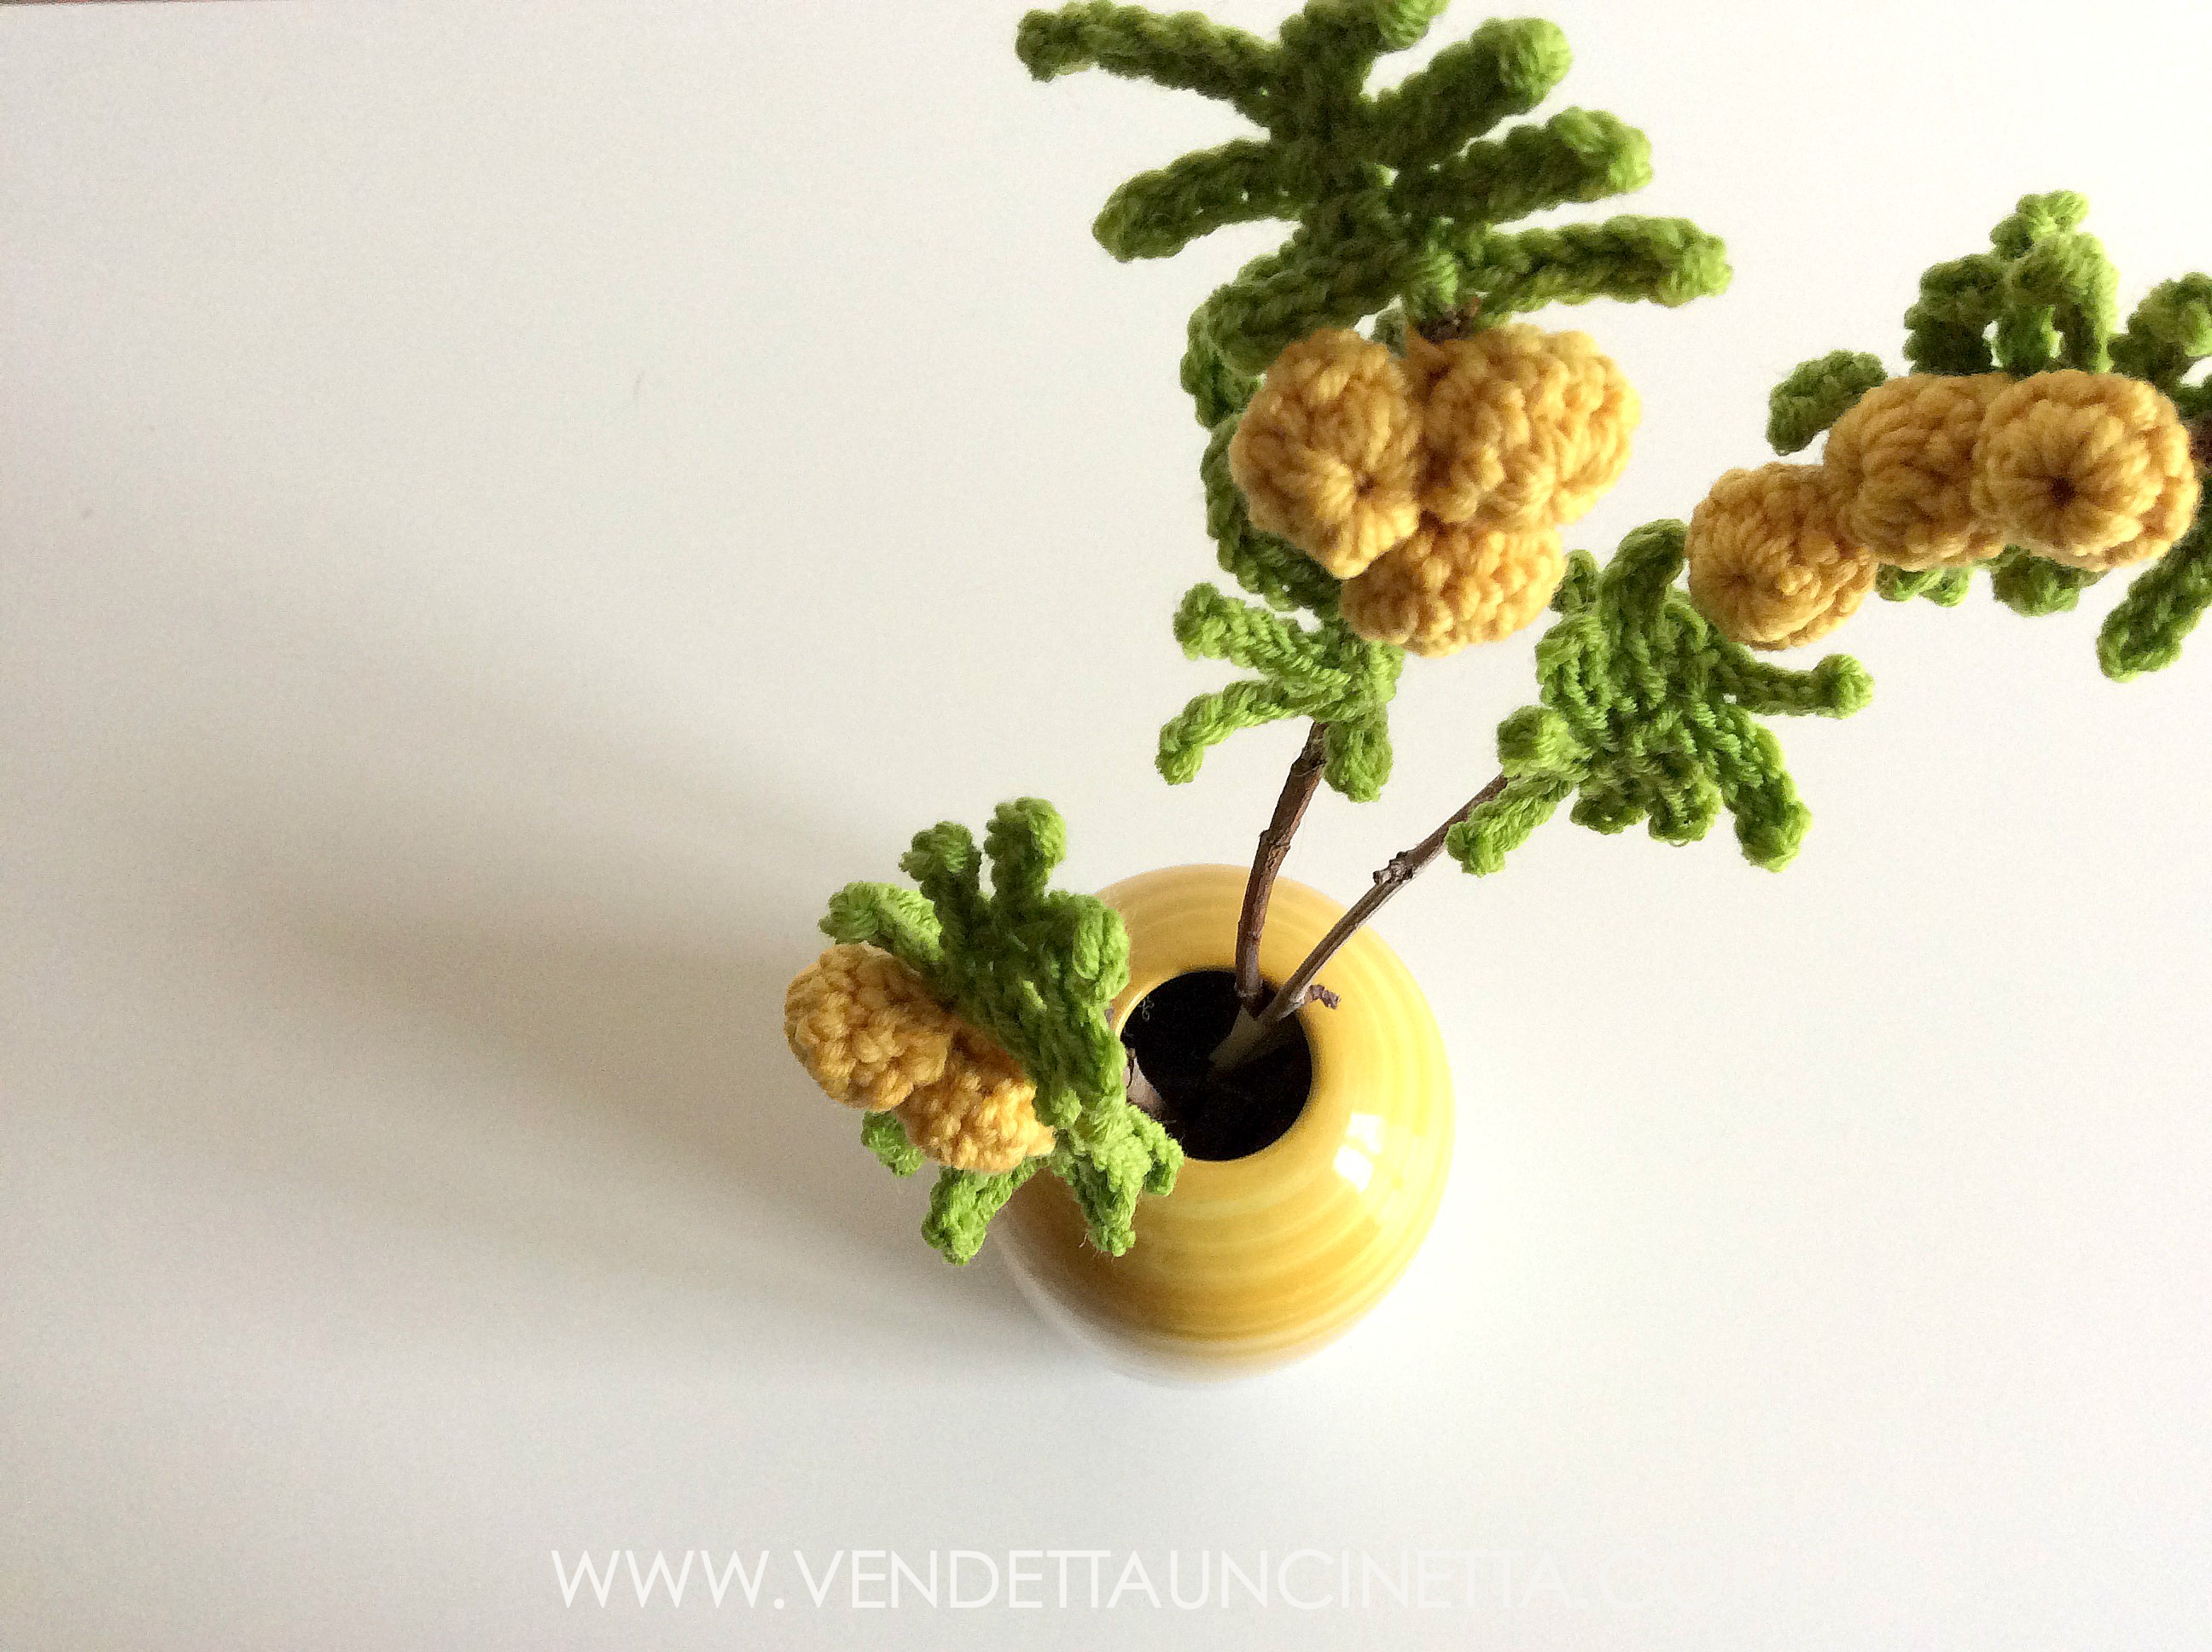
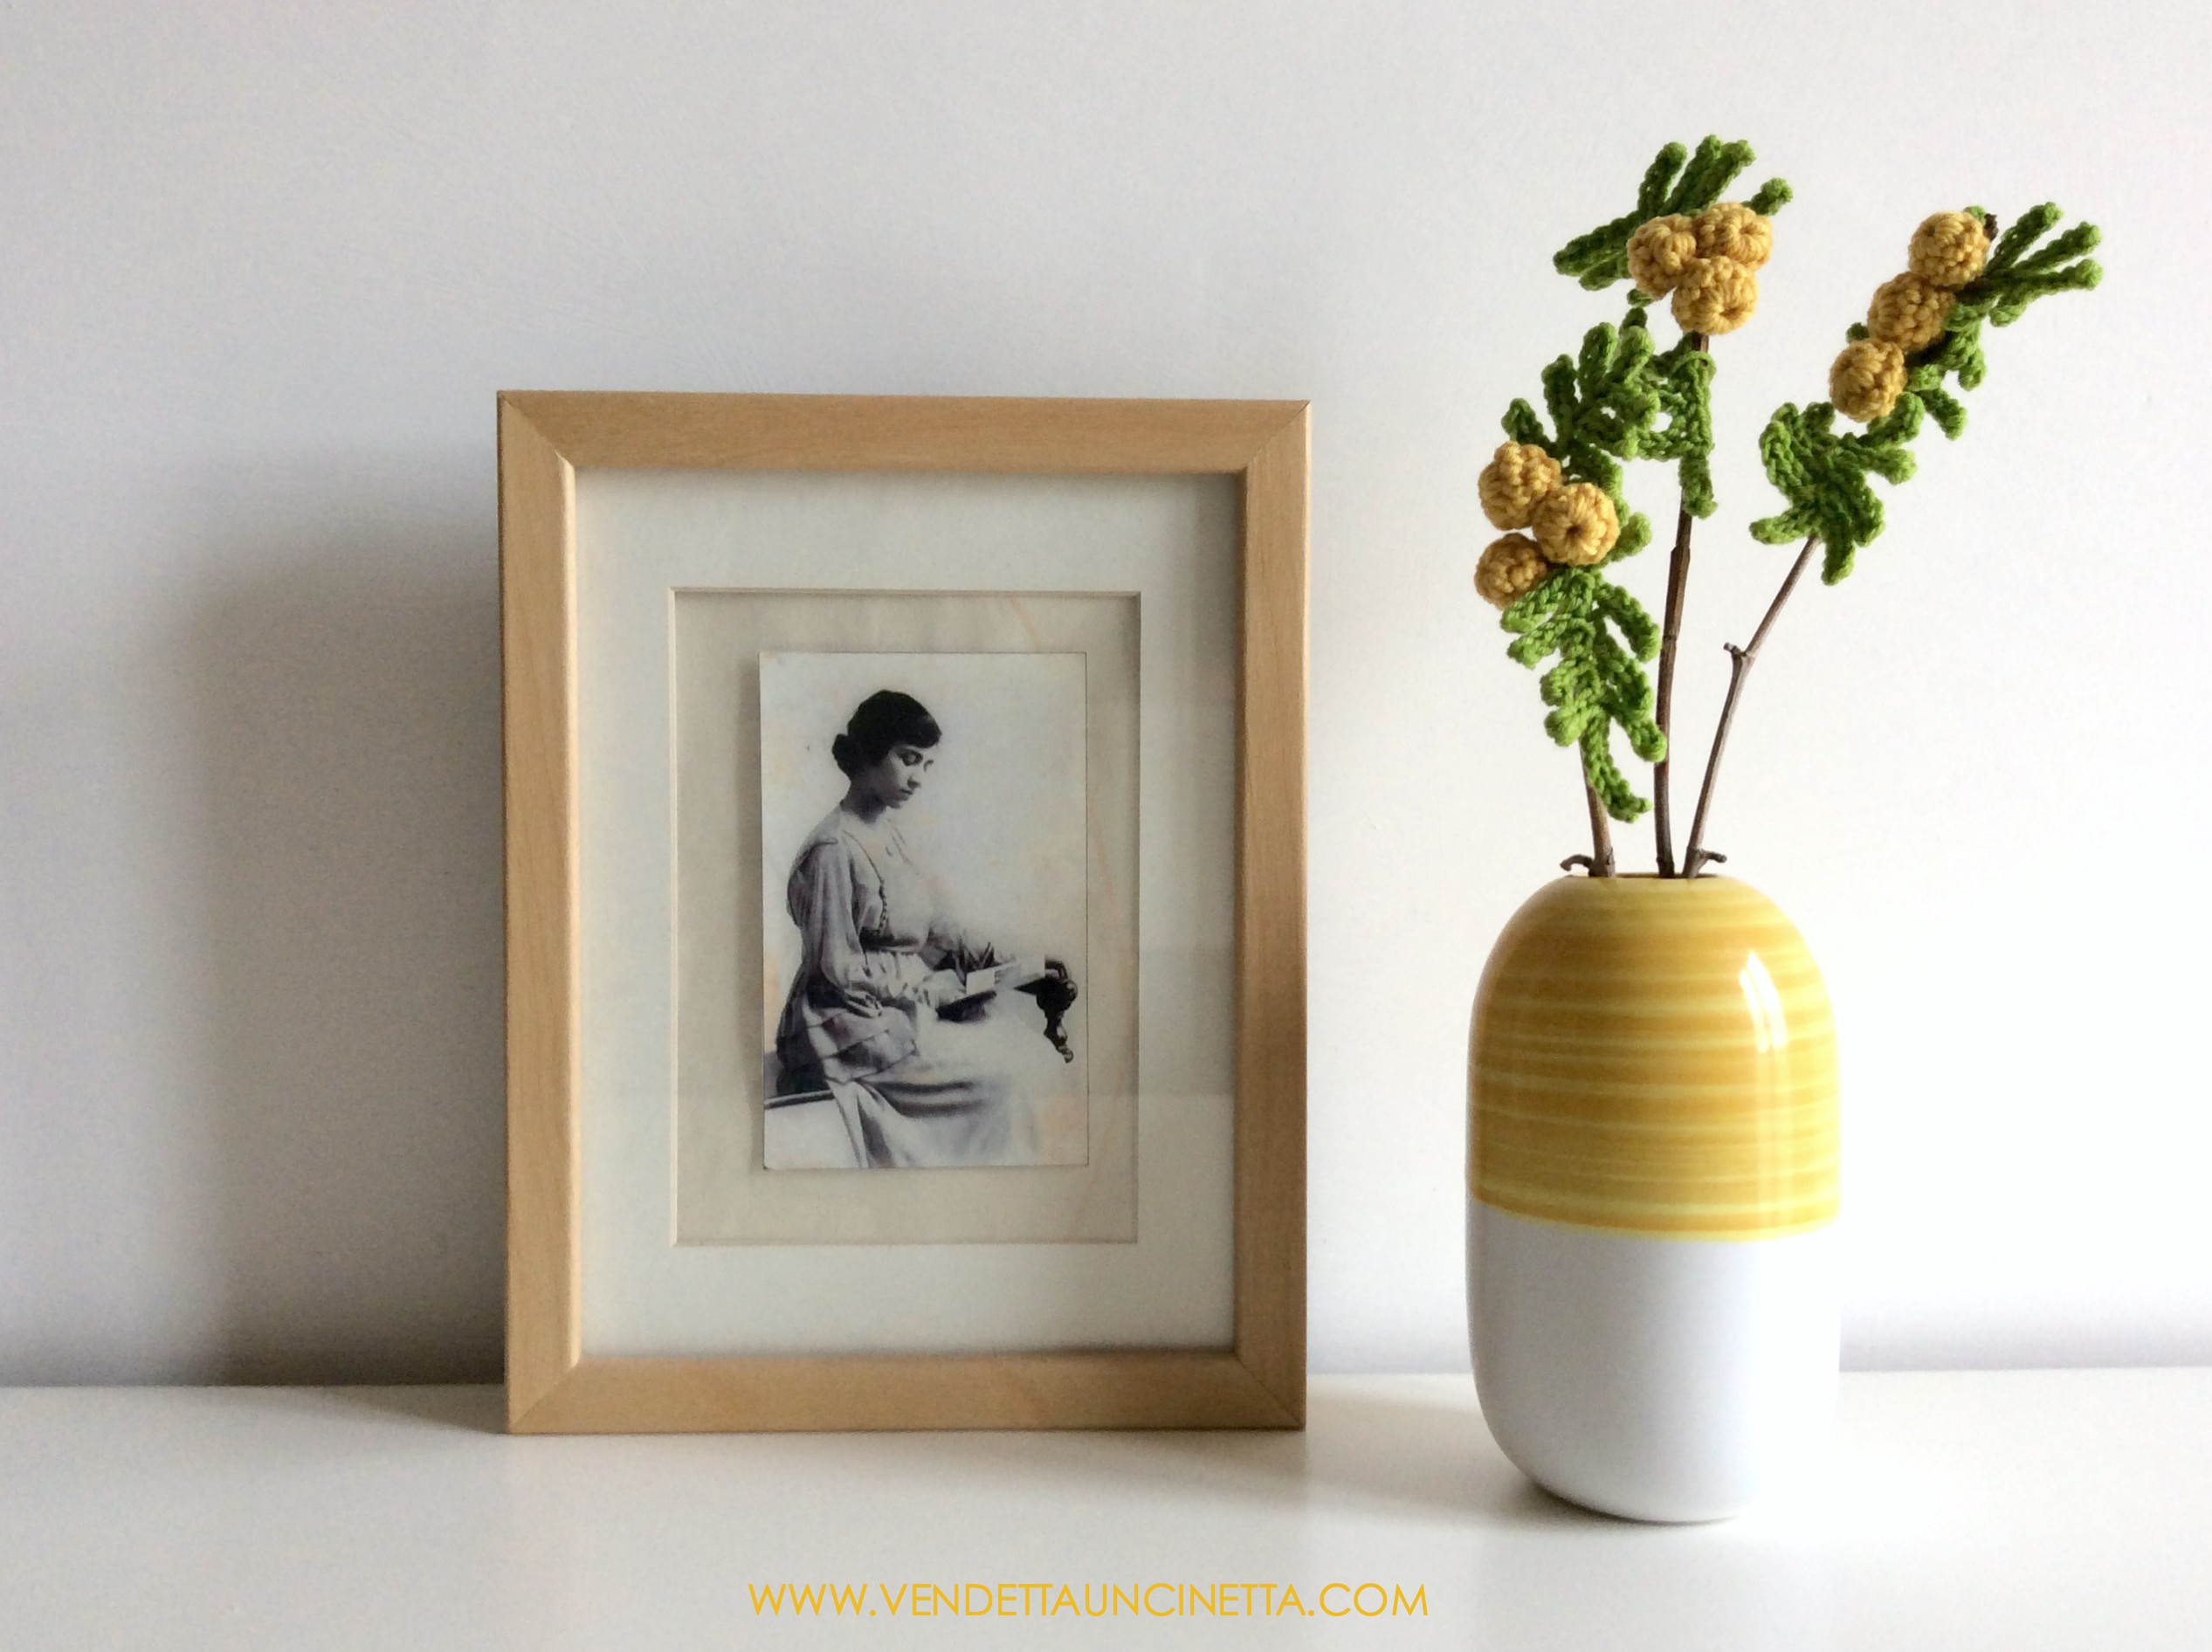
Per abbellire la casa o fare un piccolo regalo, ho pensato di realizzare delle mimose ad uncinetto.
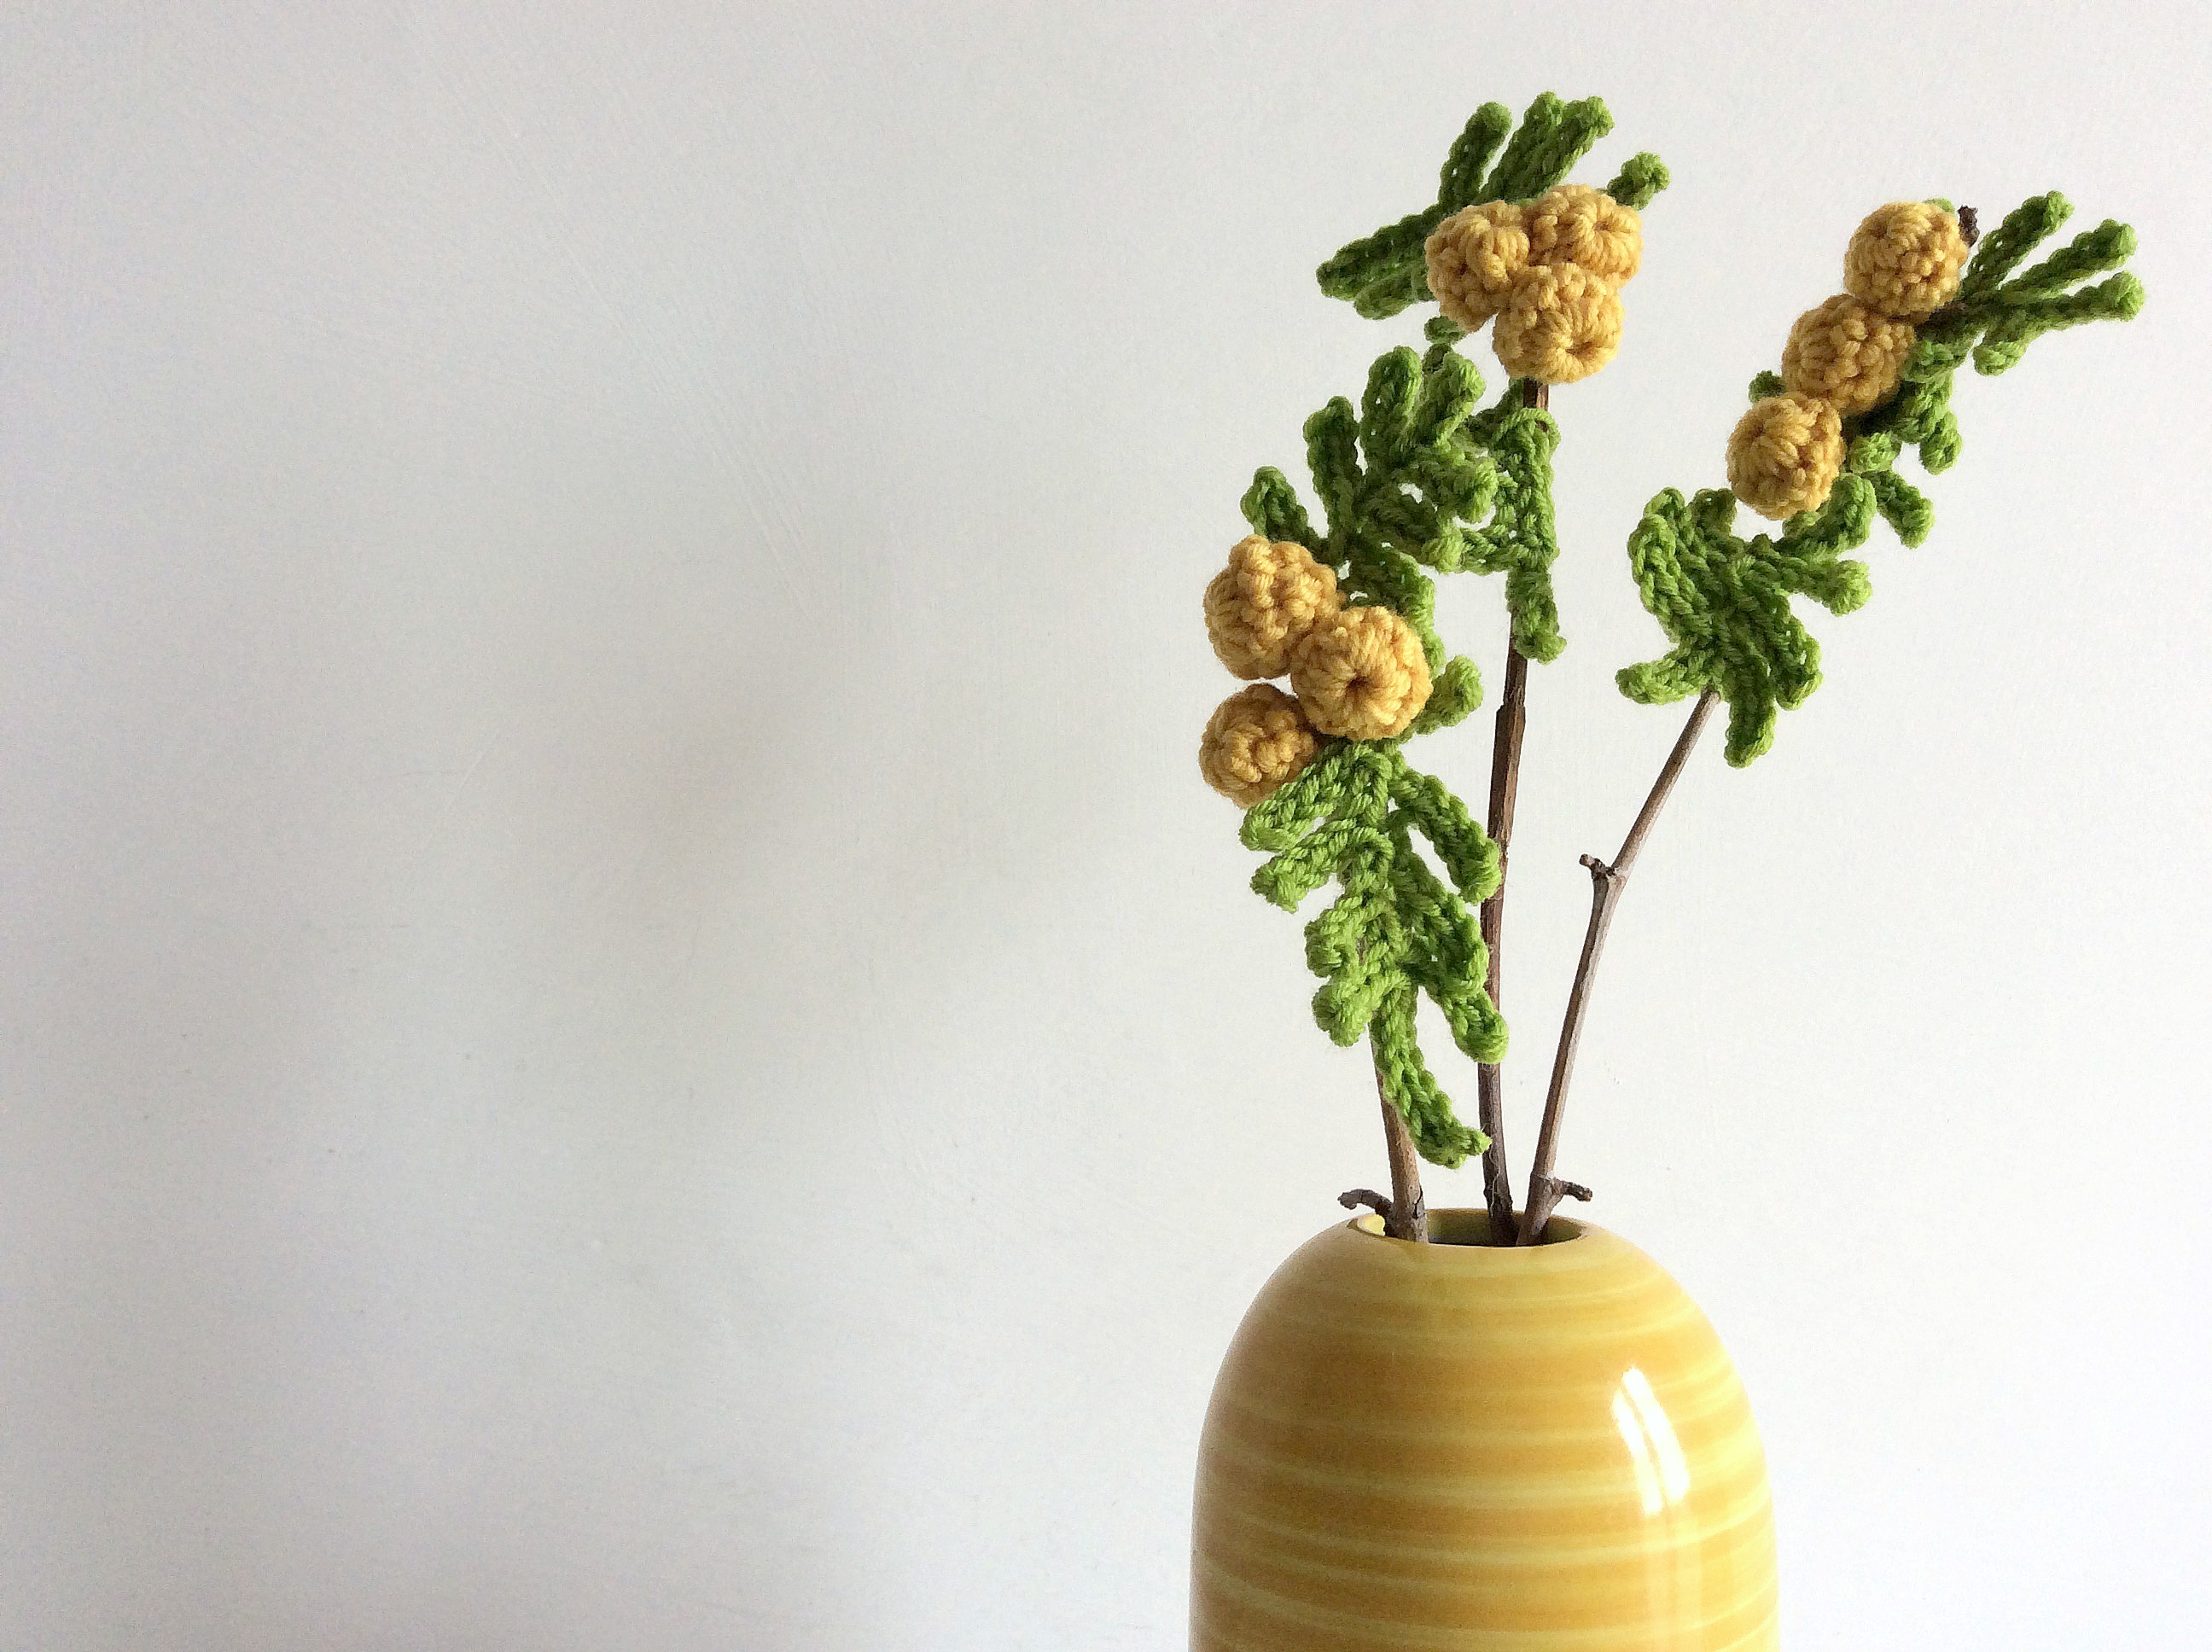
Alla fine le ho applicate su dei rametti veri e secchi per tenerle in un vaso ma possono essere utilizzati anche come applicazione/decorazione o come spilla!
Ti occorrerà:
Uncinetto: 3 o 3.5 (io uso uncinetti Clover)
Filato verde e giallo (io ho utilizzato il Woolly di DMC in puro merino, ma potete provare anche con il cotone).
Ago da lana, forbici
Qualche rametto sottile secco
Procedimento:
cat-catenella
mmb-mezza maglia bassa
mb-maglia bassa
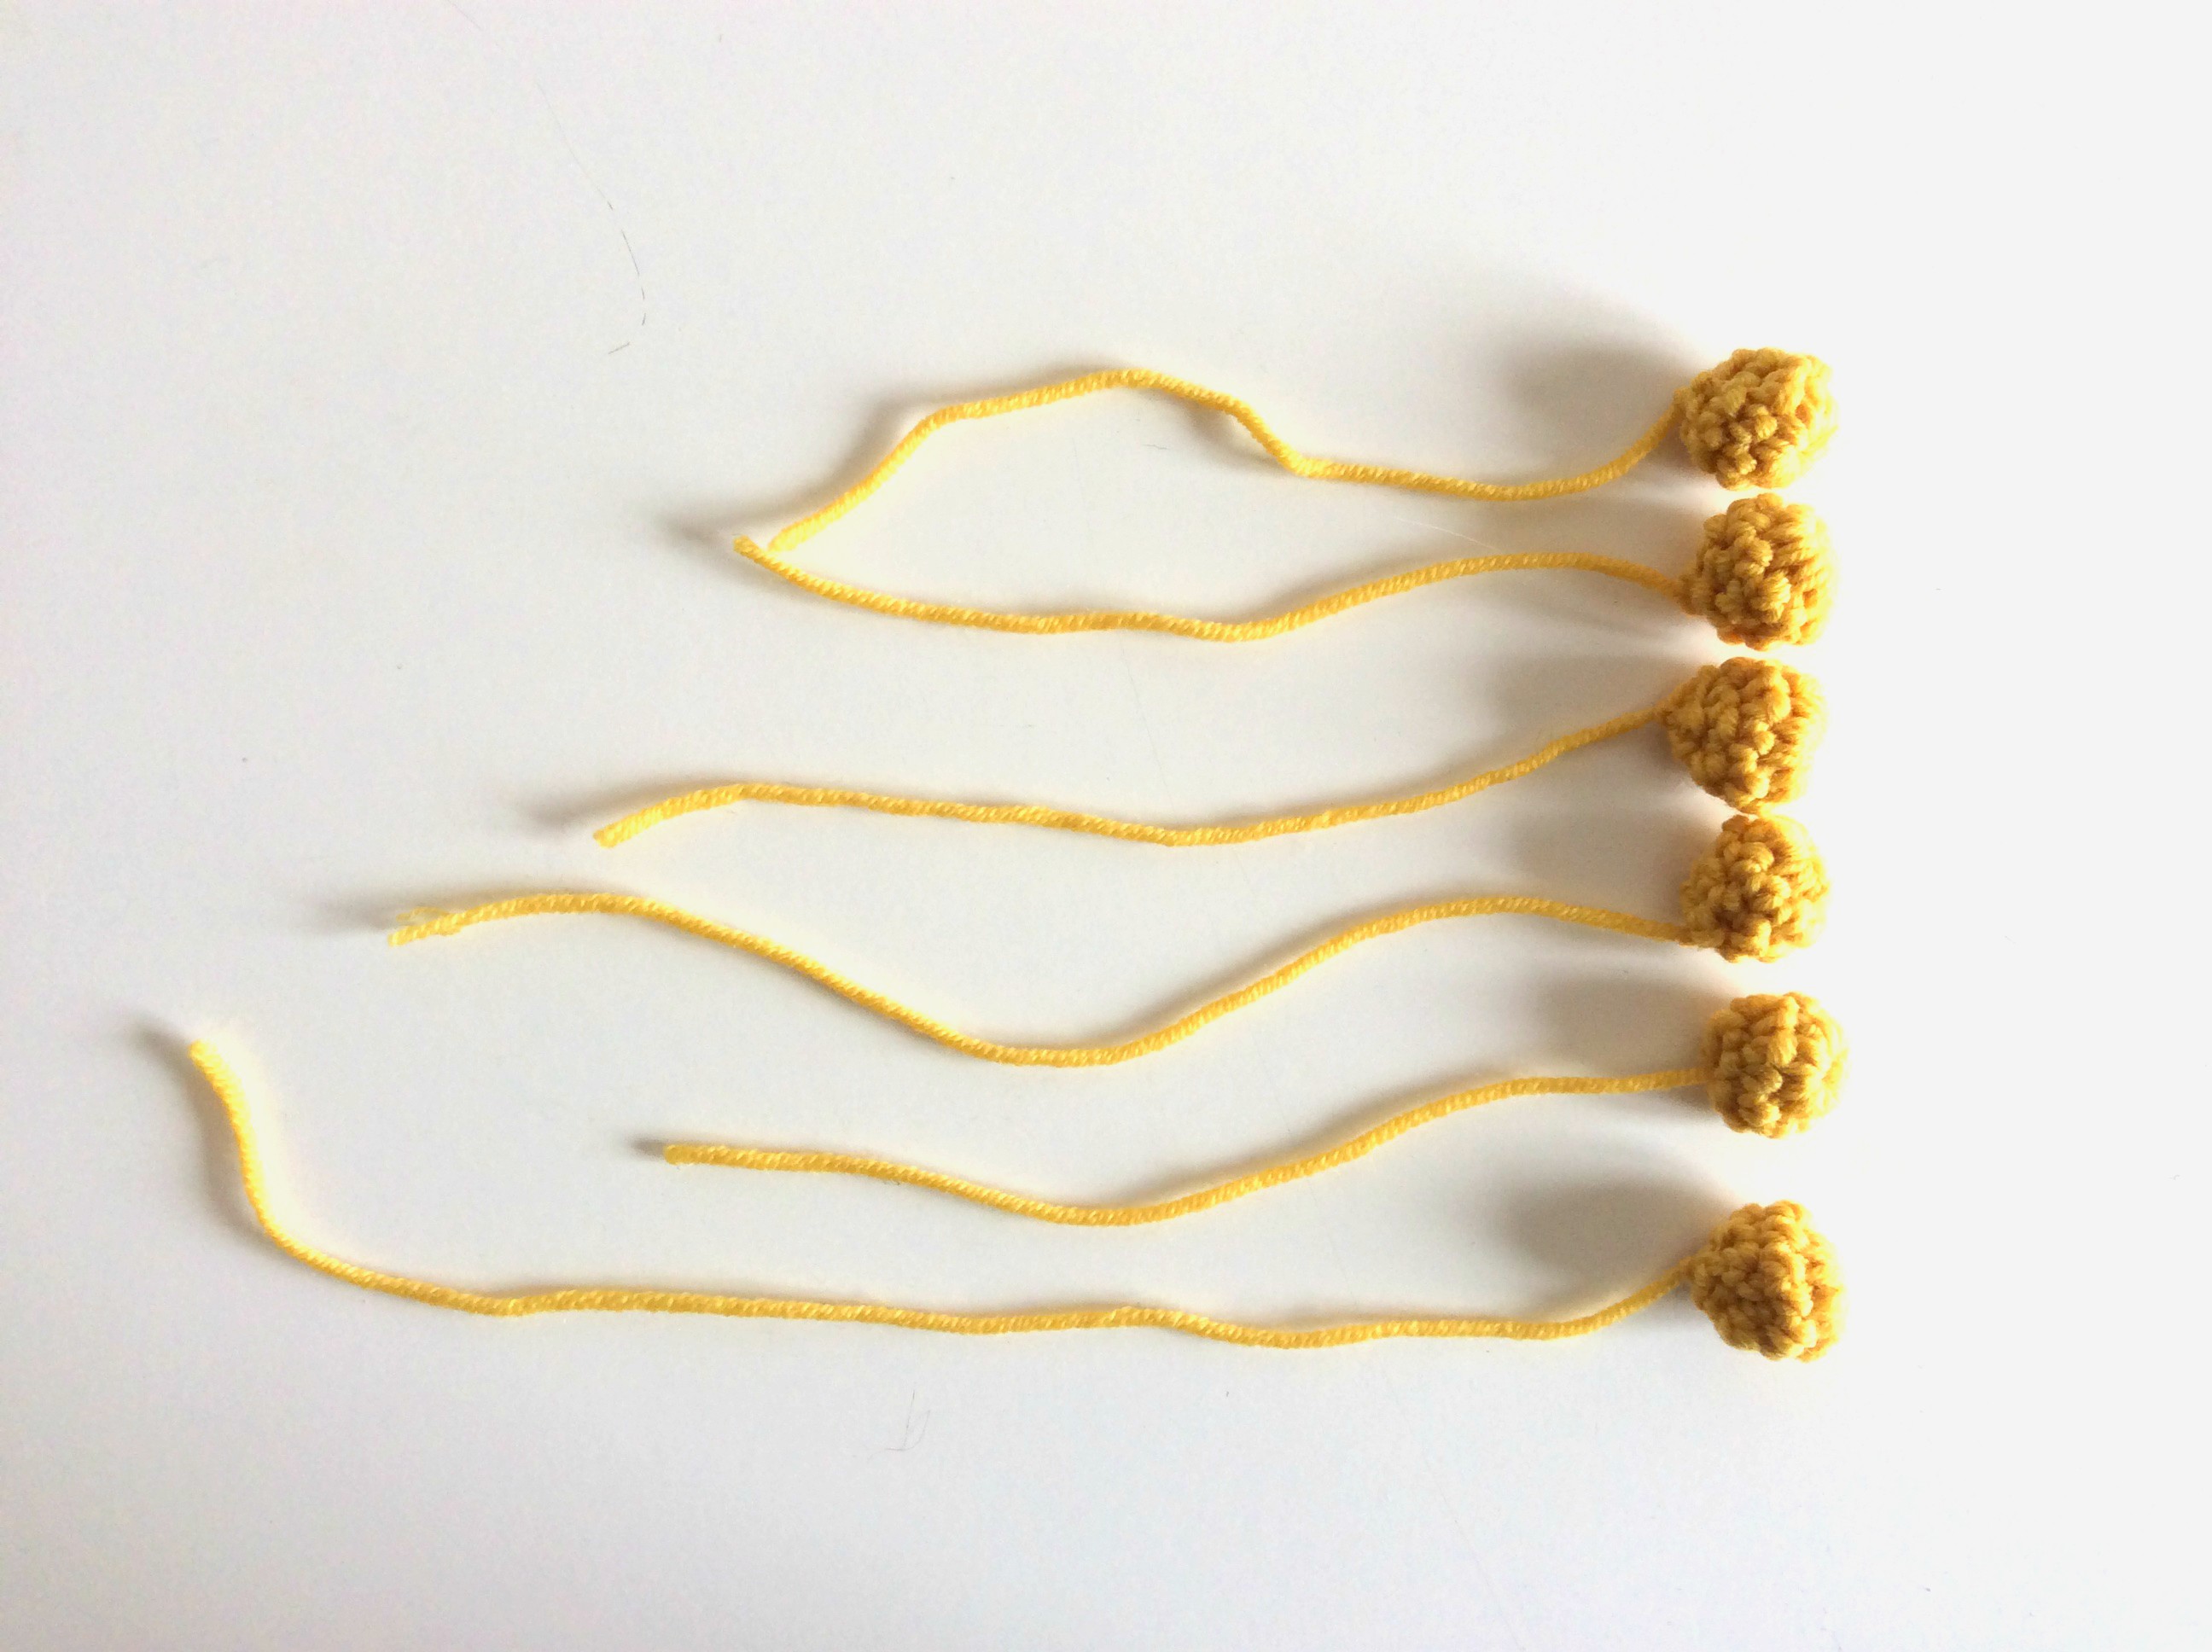
Per le palline:
Avvia3 catenelle e chiudi con 1 mmb nella prima catenella che hai fatto
1°giro: lavora 10 mb all’interno del cerchietto che hai formato.
2°-4° giro: lavora a maglia bassa (ricorda di fare sempre una cat iniziale ad inizio giro)
Chiudi con 1 mmb e taglia il filo lungo.
Infila la coda del filo in un ago da lana e fai una “filza”, cioè entra ed esci dal bordo dell piccolo “cappuccetto” che hai creato, tira il filo in modo da formare
la tua pallina. Ferma il filo e taglia.
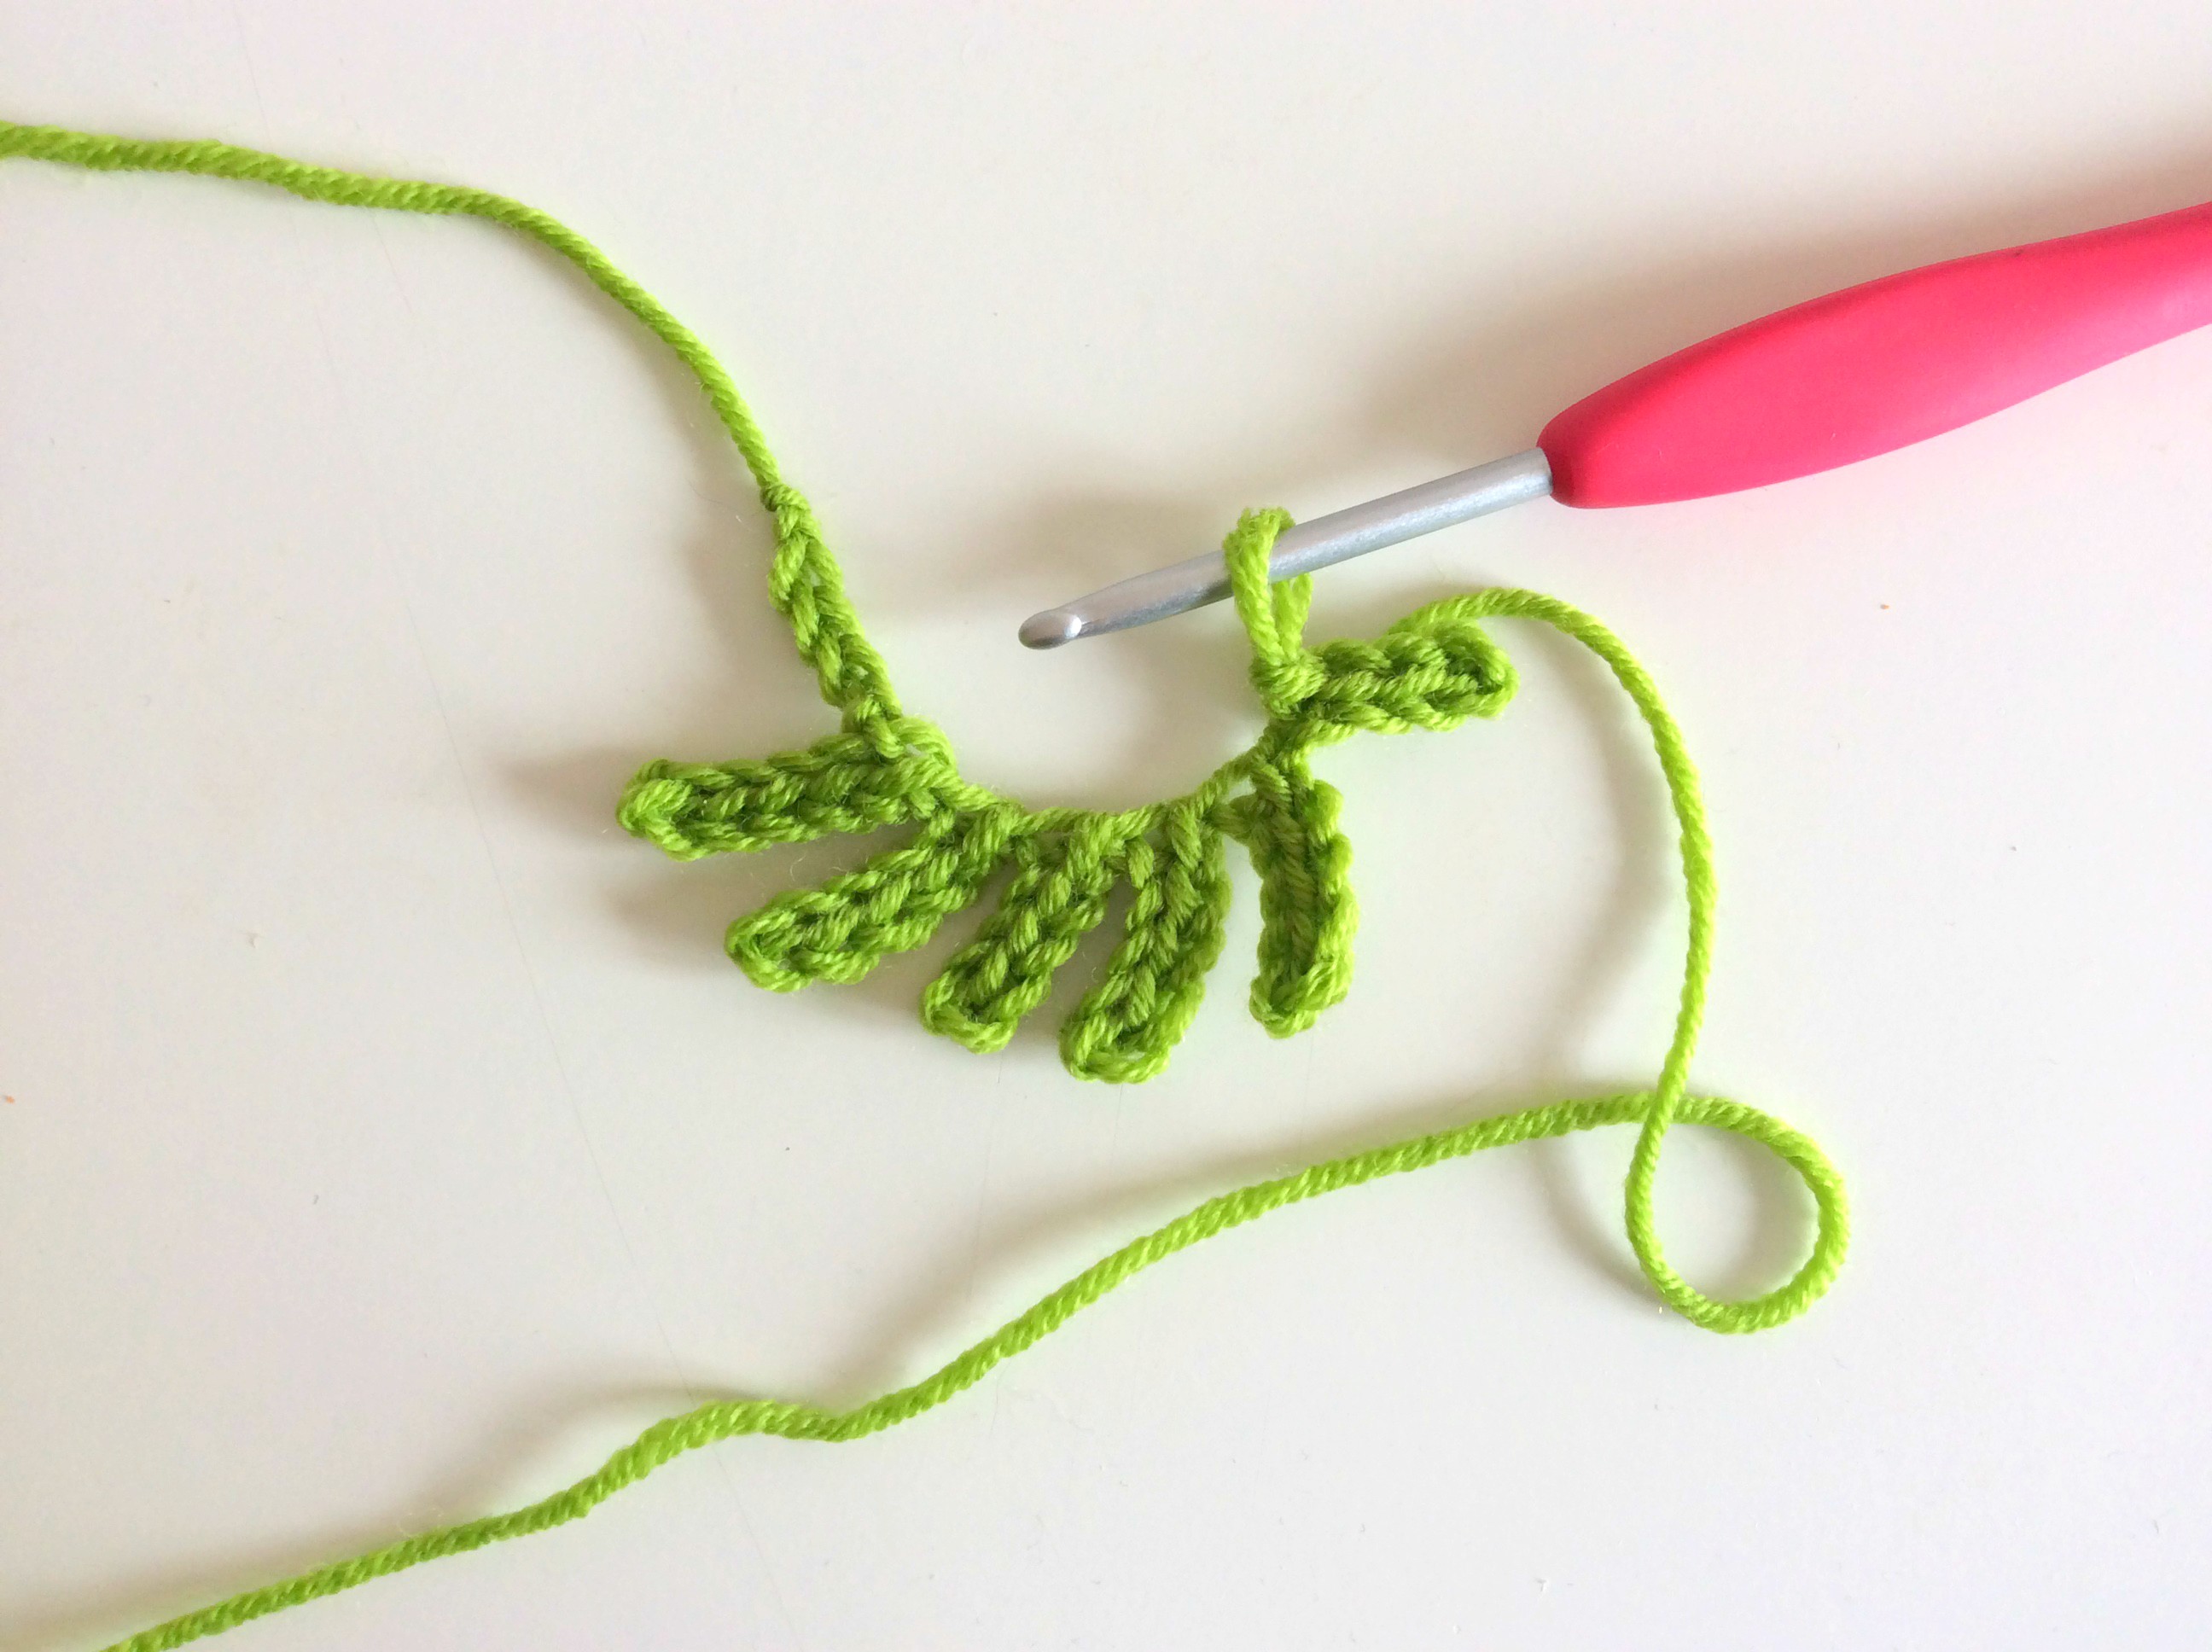
Per le foglie:
Lavora 10 catenelle.
Poi torna indietro e fai 5 mmb.
Fai [6 cat volanti e poi lavora 5 mmb su queste cat.volanti]
Ripeti da [a] per altre 3 volte, formando così le foglie più piccole di un lato della foglia grande.
Lavora 5 cat e fai 4 mmb su queste catenelle (sarà la punta della foglia).
A questo punto continua dall’altro lato (vd.foto).
Lavora 6 cat volanti e poi lavora 5 mmb su queste cat.volanti (come hai fatto prima) ma questa volta alla fine chiudi con un’altra mmb prendendo il filo che vedi esposto alla base della foglia, in modo di legare i due “lati” della foglia più grande. Continua nella setssa maniera ripetendo 6 cat volanti, 5 mmb e 1 mmb sulla base, fino all’ultima foglia.
A questo punto ti rimarrà un solo pezzettino di catenella (quello che hai fatto all’inizio del lavoro), il gambo: su questo pezzettino lavora 4 mb e chiudi con 1mmb. Taglia il filo lungo.

Per fissare ai rametti:
usando il fili lunghi del gambo della foglia, girali attorno al ramo più volte in modo da bloccare la base e fai un nodino. Fai lo stesso per le altre foglie, magari fissando le foglie con ulteriori spezzoni di filo finchè non sarai soddisfatta del risultato. Ora fissa le palline infilando la coda del filo in un ago da lana per aiutarti.Entra anche nella pallina con l’ago per fissarla meglio e magari fissala anche alle palline accanto. Non esiste un modo standard per fare questo procedimento, dovrai aggiustare man mano il lavoro con piccoli punti e nodini finchè non sarai soddisfatta!
/ / / ENG: / / /
In Italy the 8 of March is Women’s Day and is a tradition to give this flower as a gift! So to add a little decor to the house or make a small gift, I made some crocheted mimosas.
At the end I have applied them on some tiny branches to keep them in a vase but they can also be used as a decoration or a brooch!
You will need:
Crochet: 3 or 3.5 (I’ve used as always hooks by Clover)
Green and yellow yarn, I’ve used Woolly DMC in 100% Merino, but you can also try with cotton.
Yarn nneedle, scissors
Some branches
ch-chain
ss-slip stitch
sc- simple crochet
For the little balls:
Start 3 chains and close with 1 ss in first ch you did
Row 1: Work 10 sc in the circle you have formed.
2nd-4th round: work all in sc
Close with 1 mss and cut the thread (long).
With a knitting needle, make a stitch around the small “cap”‘s opening you’ve created, pull the thread to make
your ball. Stop and cut the thread.
For the leaves:
Work 10 ch.
Then go back and make 5 ss.
Make [6 ch and then work on these 5 ss]
Repeat from [a] 3 more times, forming the small leaves of one of the two sides of the big leaf.
Work 5 ch and make 4 ss (this will be the tip of the leaf).
Now let’s follow on the other side (see pic).
Work 6 ch and then work on these 5 ss as you did before, but this time at the end close with another ss taking the exposed yarn thread you see at the base of the leaf, so to tie together the two “sides “of the largest leaf. Follow in the same way repeating 6 ch, 5 ss and 1 ss on the base, until the last leaf.
Now it will remain a single piece of chain (the one you did at the beginning of the work), that will be the stem: on this little piece work 4 sc and close with 1m ss. Cut the thread (long)..
To fix to the branches:
use the long thread of the leaf’s stem to fix it to the branch to lock it and make a knot. Do the same for the other leaves, adding some stitches more until you are satisfied with the result. Now for yellow balls, insert the tail of their yarn in a knitting needle to help the fixing phase. There is no a standard way to do this, you will just need to adjust with small stitches and knots until you are satisfied!


