
Questo tutorial è talmente immediato che vi verrà da ridere per non averci pensato da sole!
Mi è venuto in mente una mattina, appena sveglia (sai quando ti viene la faccia a forma di punto esclamativo?) e
lo divido in due parti ma solo perchè le foto sono tante… tenete presente che la manica forse è un po’ complicata ma niente paura, nella seconda parte, la settimana prossima, vi svelerò un trucco per semplificarla ulteriormente!
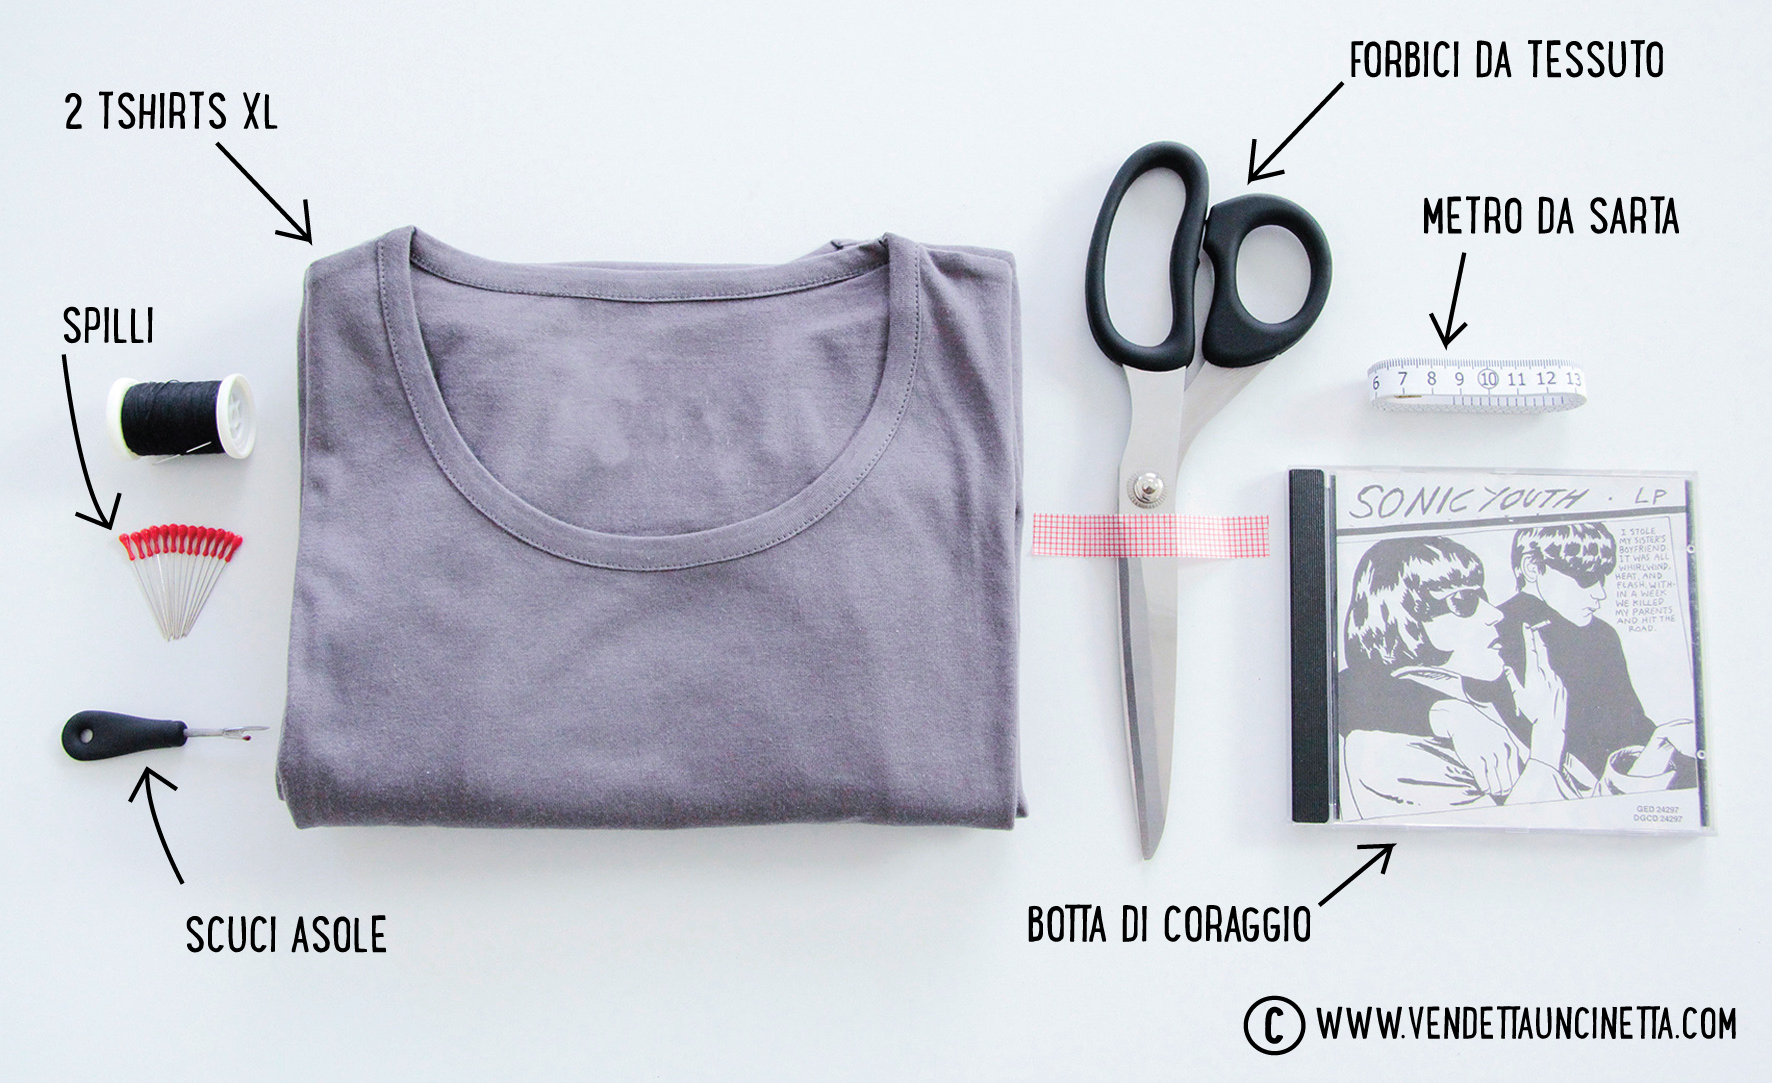 OCCORRENTE:
Due tshirts oversize identiche (che chiameremo “A” e “B”)
Forbici da stoffa
Spilli
Spilla Balia
Apri asole o forbicine da ricamo
Macchina da cucire
Ferro da Stiro
DIFFICOLTA’: media (ma col trucco finale!YEEEEH)
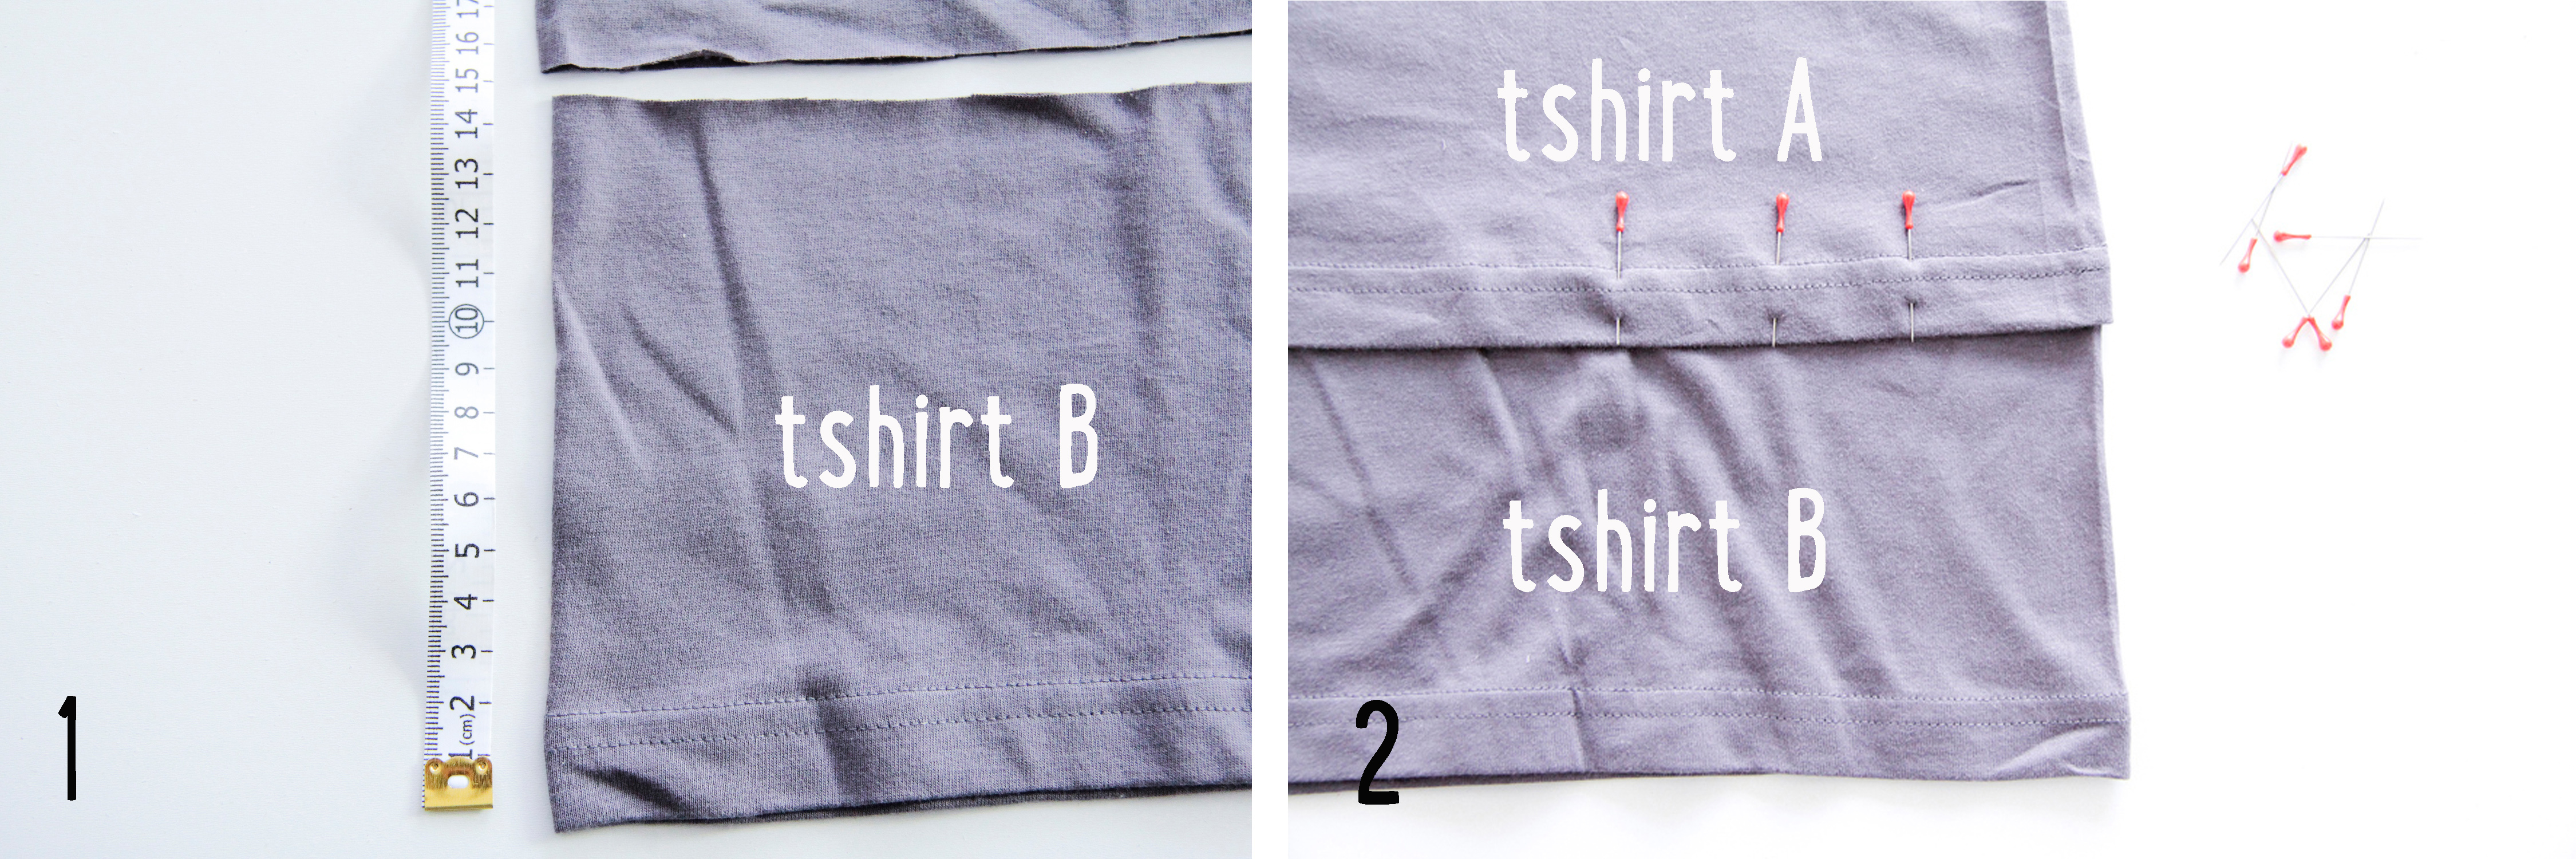
1-Misura la tshirt “A” e misura quanti centimetri di tessuto di occorrono dal bordo per arrivare appena sopra il tuo ginocchio. Se, ad esempio, ti occorrono altri 15 cm di tessuto, tagliali dal fondo della maglietta “B”.
2- Poi fissa il tessuto con degli spilli sotto il bordo della tshirt “A”. Cuci con la macchina da cucire in modo da allungare così la tshirt “A”.
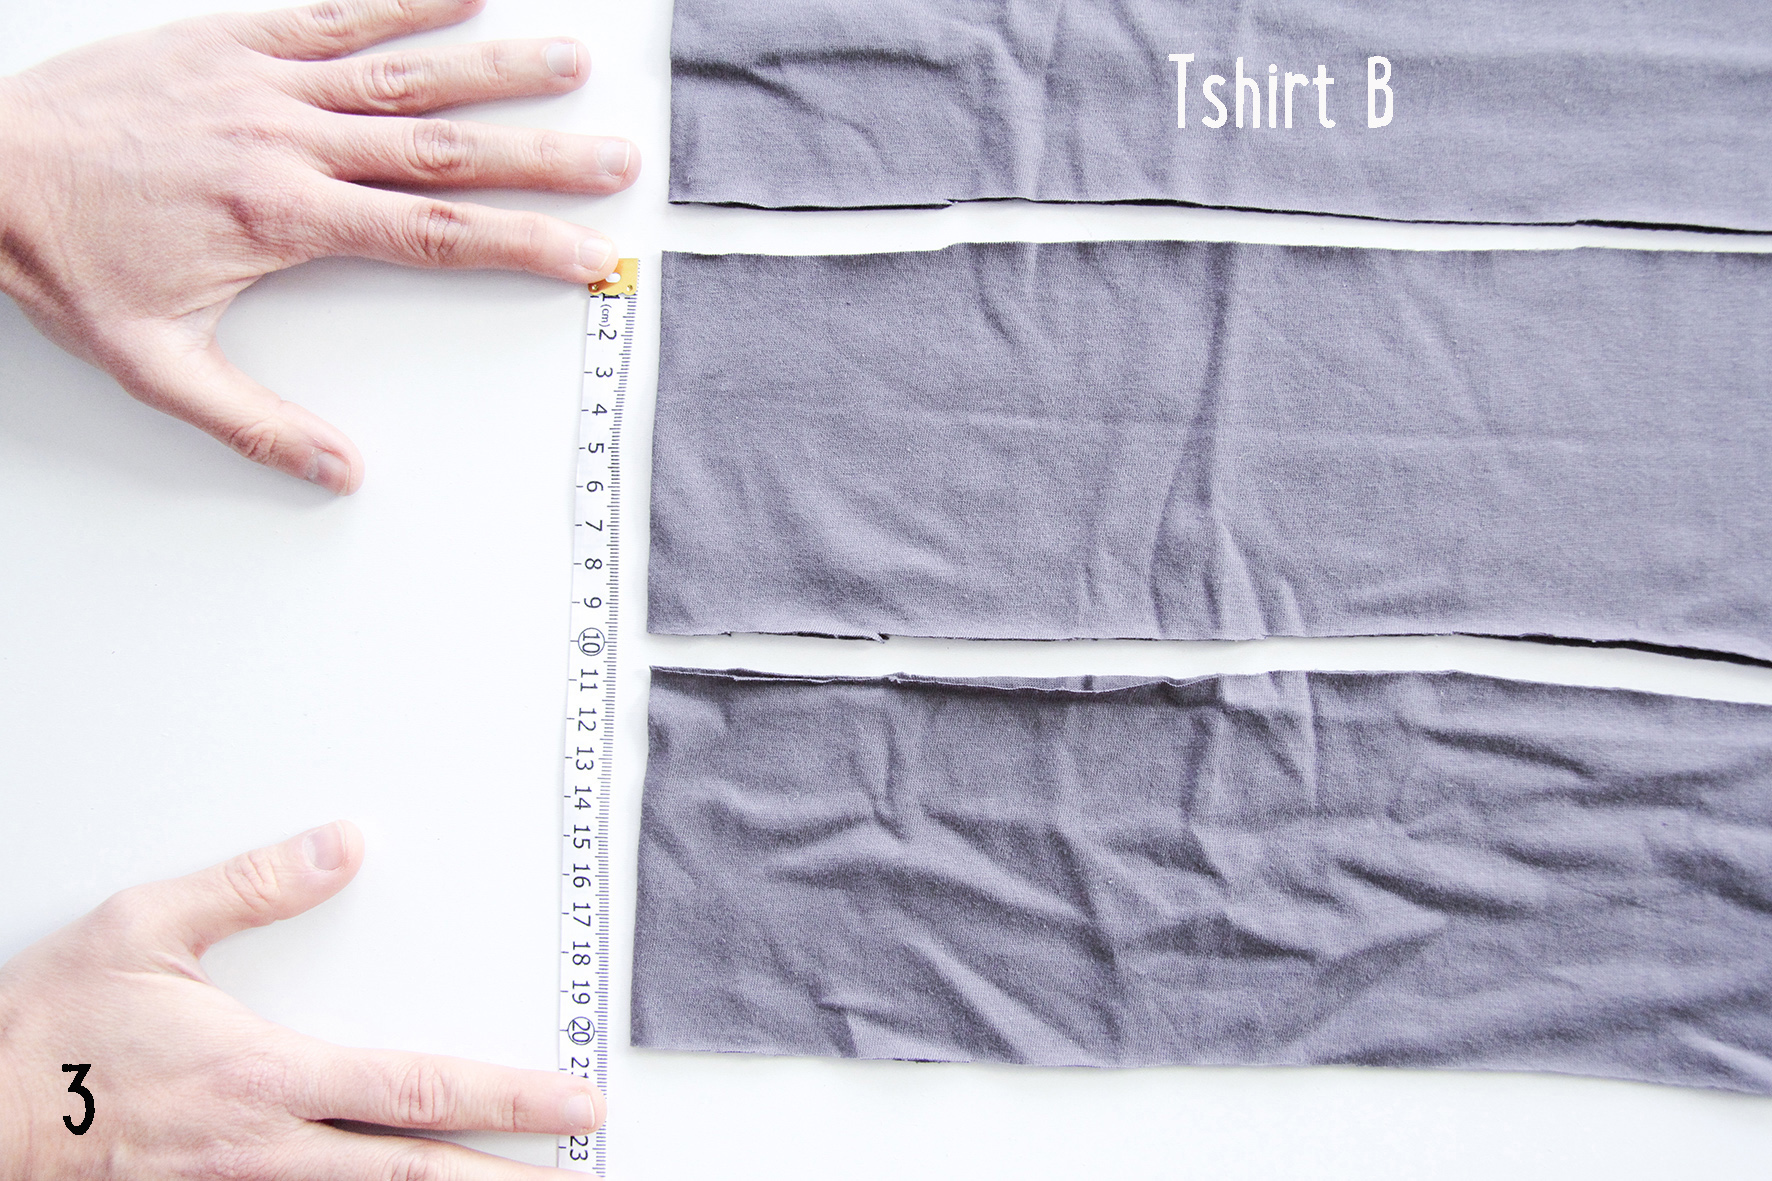
 3-Sempre dalla tshirt “B”, taglia dal fondo altre 2 strisce di tessuto di circa 10 cm di larghezza.
 4- Taglia il lato corto delle due strisce in modo da avere due nastri…

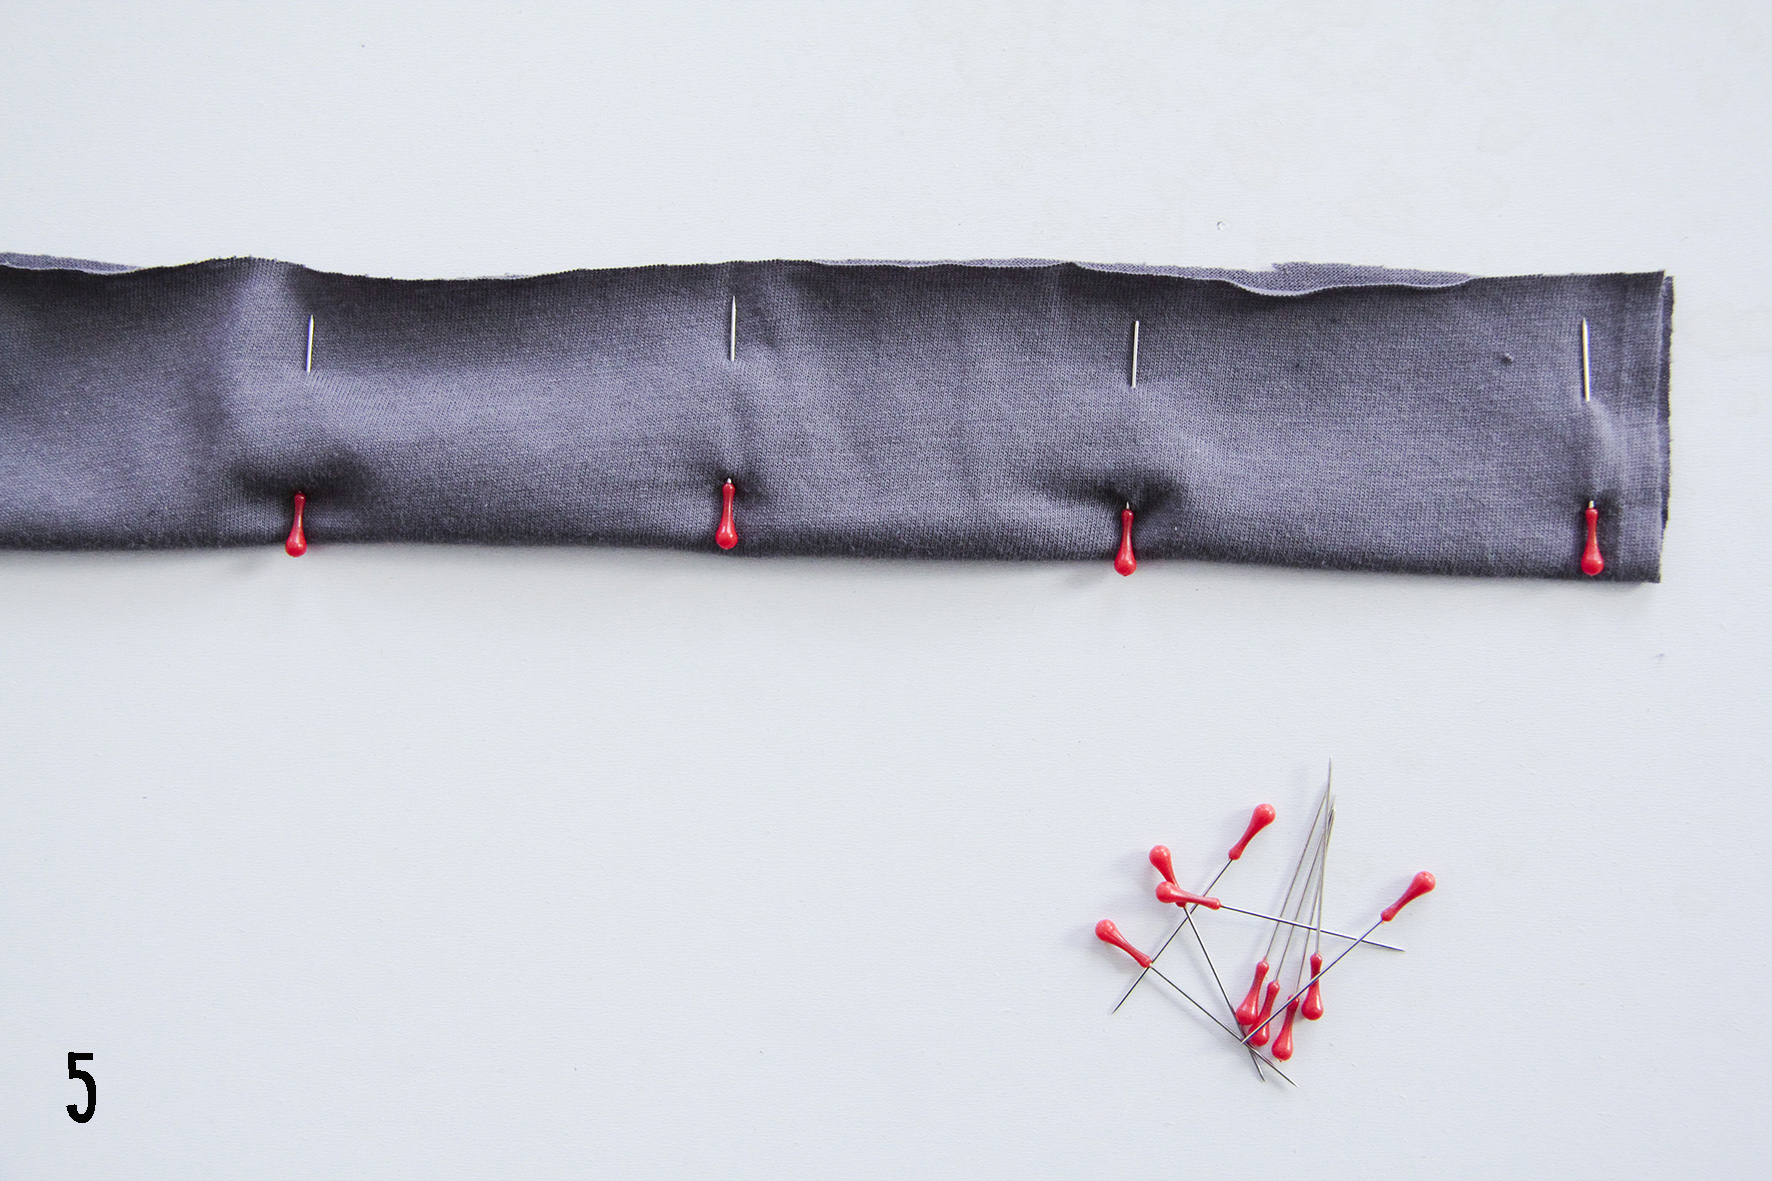
5-Ripiega ognuna delle due strisce in due e fissala con gli spilli! (non ti sforacchiare, mi raccomando)
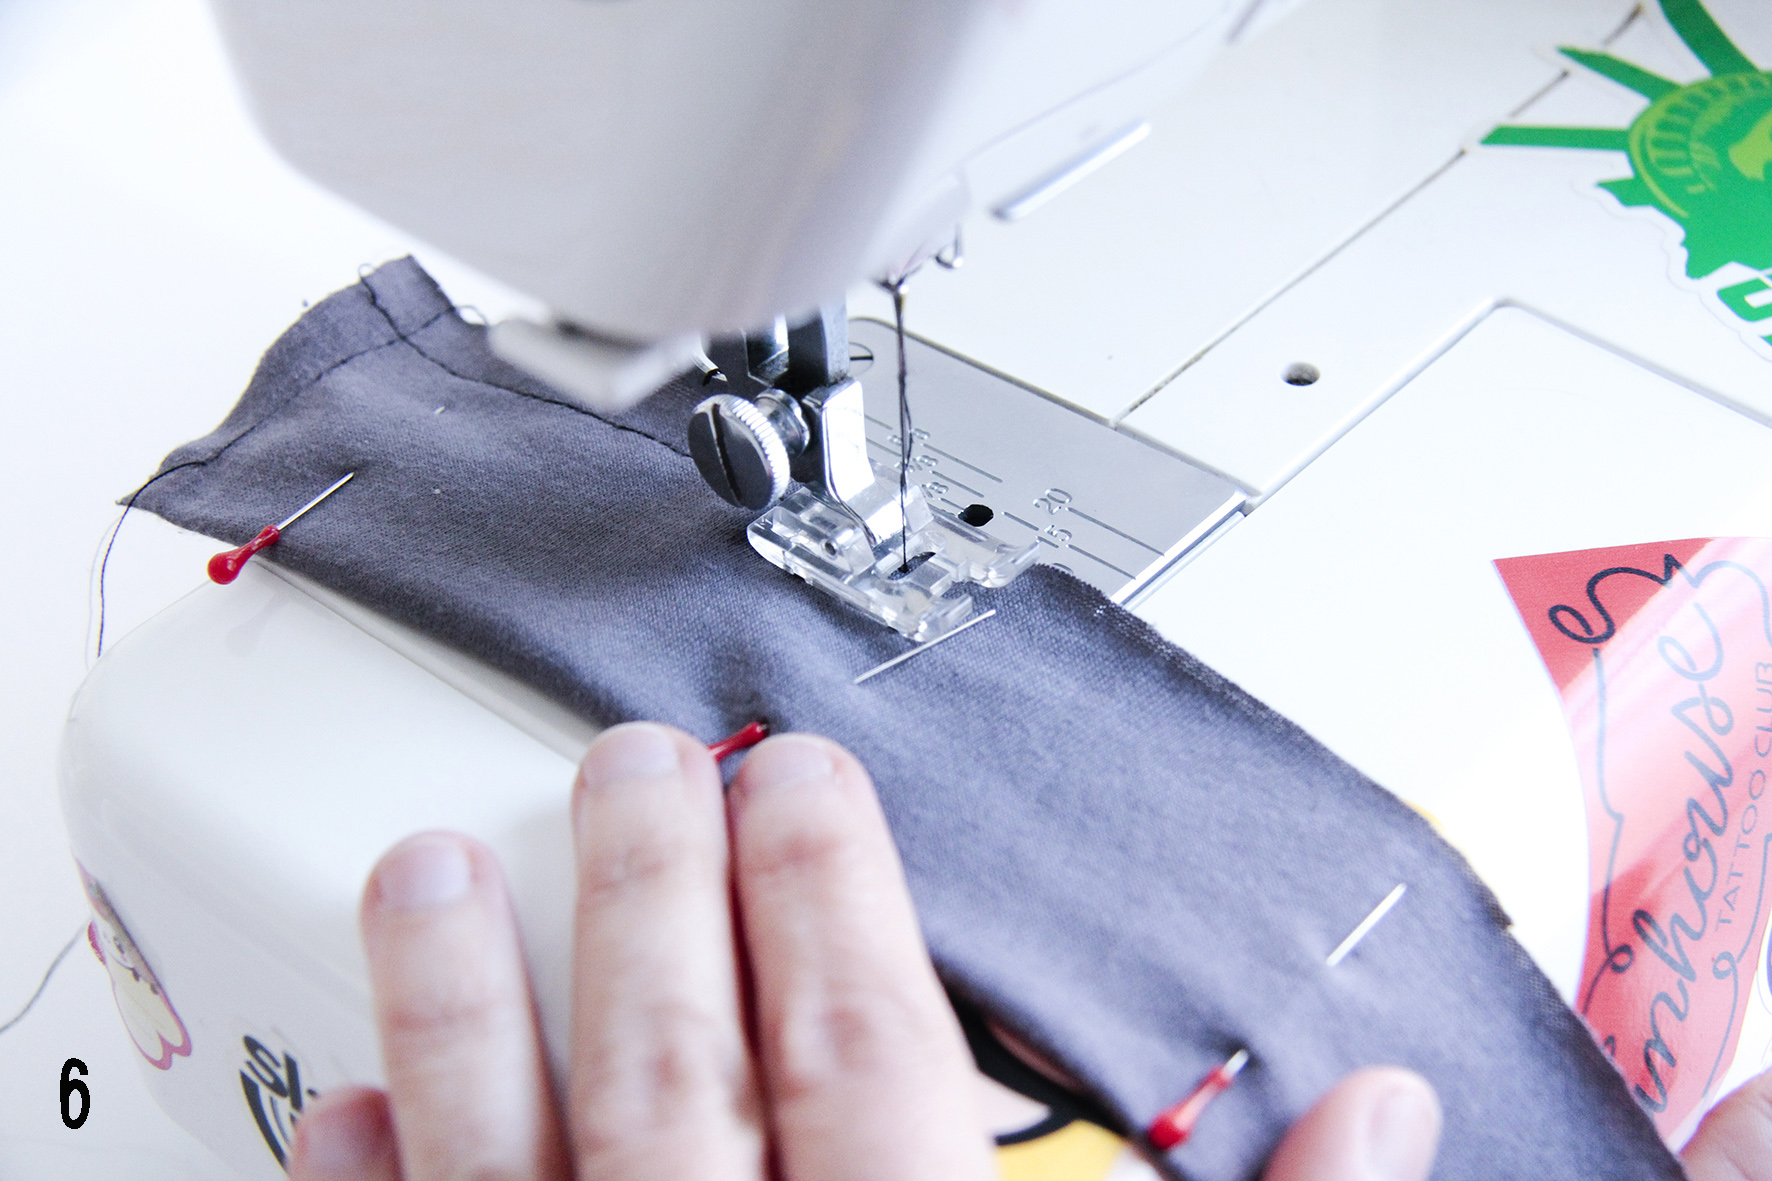
6-cuci tutt’intorno con la macchina da cucire lasciando un lato corto aperto. Risvolta il nastro attraverso il lato lasciato aperto, cuci l’apertura a mano e stira i due nastri.
▶︎QUIla seconda parte del tutorial! ^__^
ENG:
Hello friends! Today my tutorial is about an unexpected way to turn 2 oversized tshirts into a dress! This is the first part of my tutorial that is quite easy except by the sleeve part maybe… but no worries, in the second and final part (online next week)I’ve added a trick to let everyone do this project! Yessss!!!! :-D
You will need:
Two identical oversize tshirts (we’ll call them “A” and “B”)
Fabric scissors
Pins
Safety pin
I don’t know how to translate it in english sorry, it’s the tool you use to open slots or eyelets! (Or use embroidery scissors)
Sewing machine
Iron
Difficulty: medium
1-Wear your “A” tshirt and measure how many inches from the edge of fabric are needed to reach “just above your knee” lenght. For example, if you need an additional 15 cm of fabric, cut a 15 cm wide stripe of jersey from the bottom of the “B” T-shirt.
2 – Fix with pins the additional fabric under the edge of “A” tshirt . Sew with the sewing machine to lengthen “A” tshirt .
3-Always from “B” tshirt , cut from the bottom 2 more pieces of fabric about 10 cm wide each.
4 – Cut the short side of the two strips so that you have two ribbons.
5-Fold each of the two strips in half and fix it with pins.
6-Sew around with the sewing machine leaving one of the short sides opened.Turn inside out the ribbon, sew the opening by hand
and iron the two tapes.
▶︎HEREmy tutorial’s second part! ^__^
Foto di/Pics by: Federica Papa


