Ormai lo sapete, davvero non riesco, per me, a comprare più niente di abbigliamento alla leggera. Ma amo i basici di buona qualità e spesso ne trovo, da customizzare o usare così, nel mercato della mia città, anche usati o vintage.
Quando ho trovato questo girocollo non riuscivo a crederci: un bellissimo color cammello, 100% lana fatta in Scozia, di Ballantyne (chi ha bazzicato un po’ nel mondo della moda sa che è uno storico marchio di maglieria e cachemire di qualità eccelsa). Era anche la mia taglia, una S da uomo. Comprato per 5 euro, una volta a casa ho capito qual’era il problema: sulla costa del fondo, una macchia di non so che cosa, ormai troppo vecchia da mandare via. Ed ora?
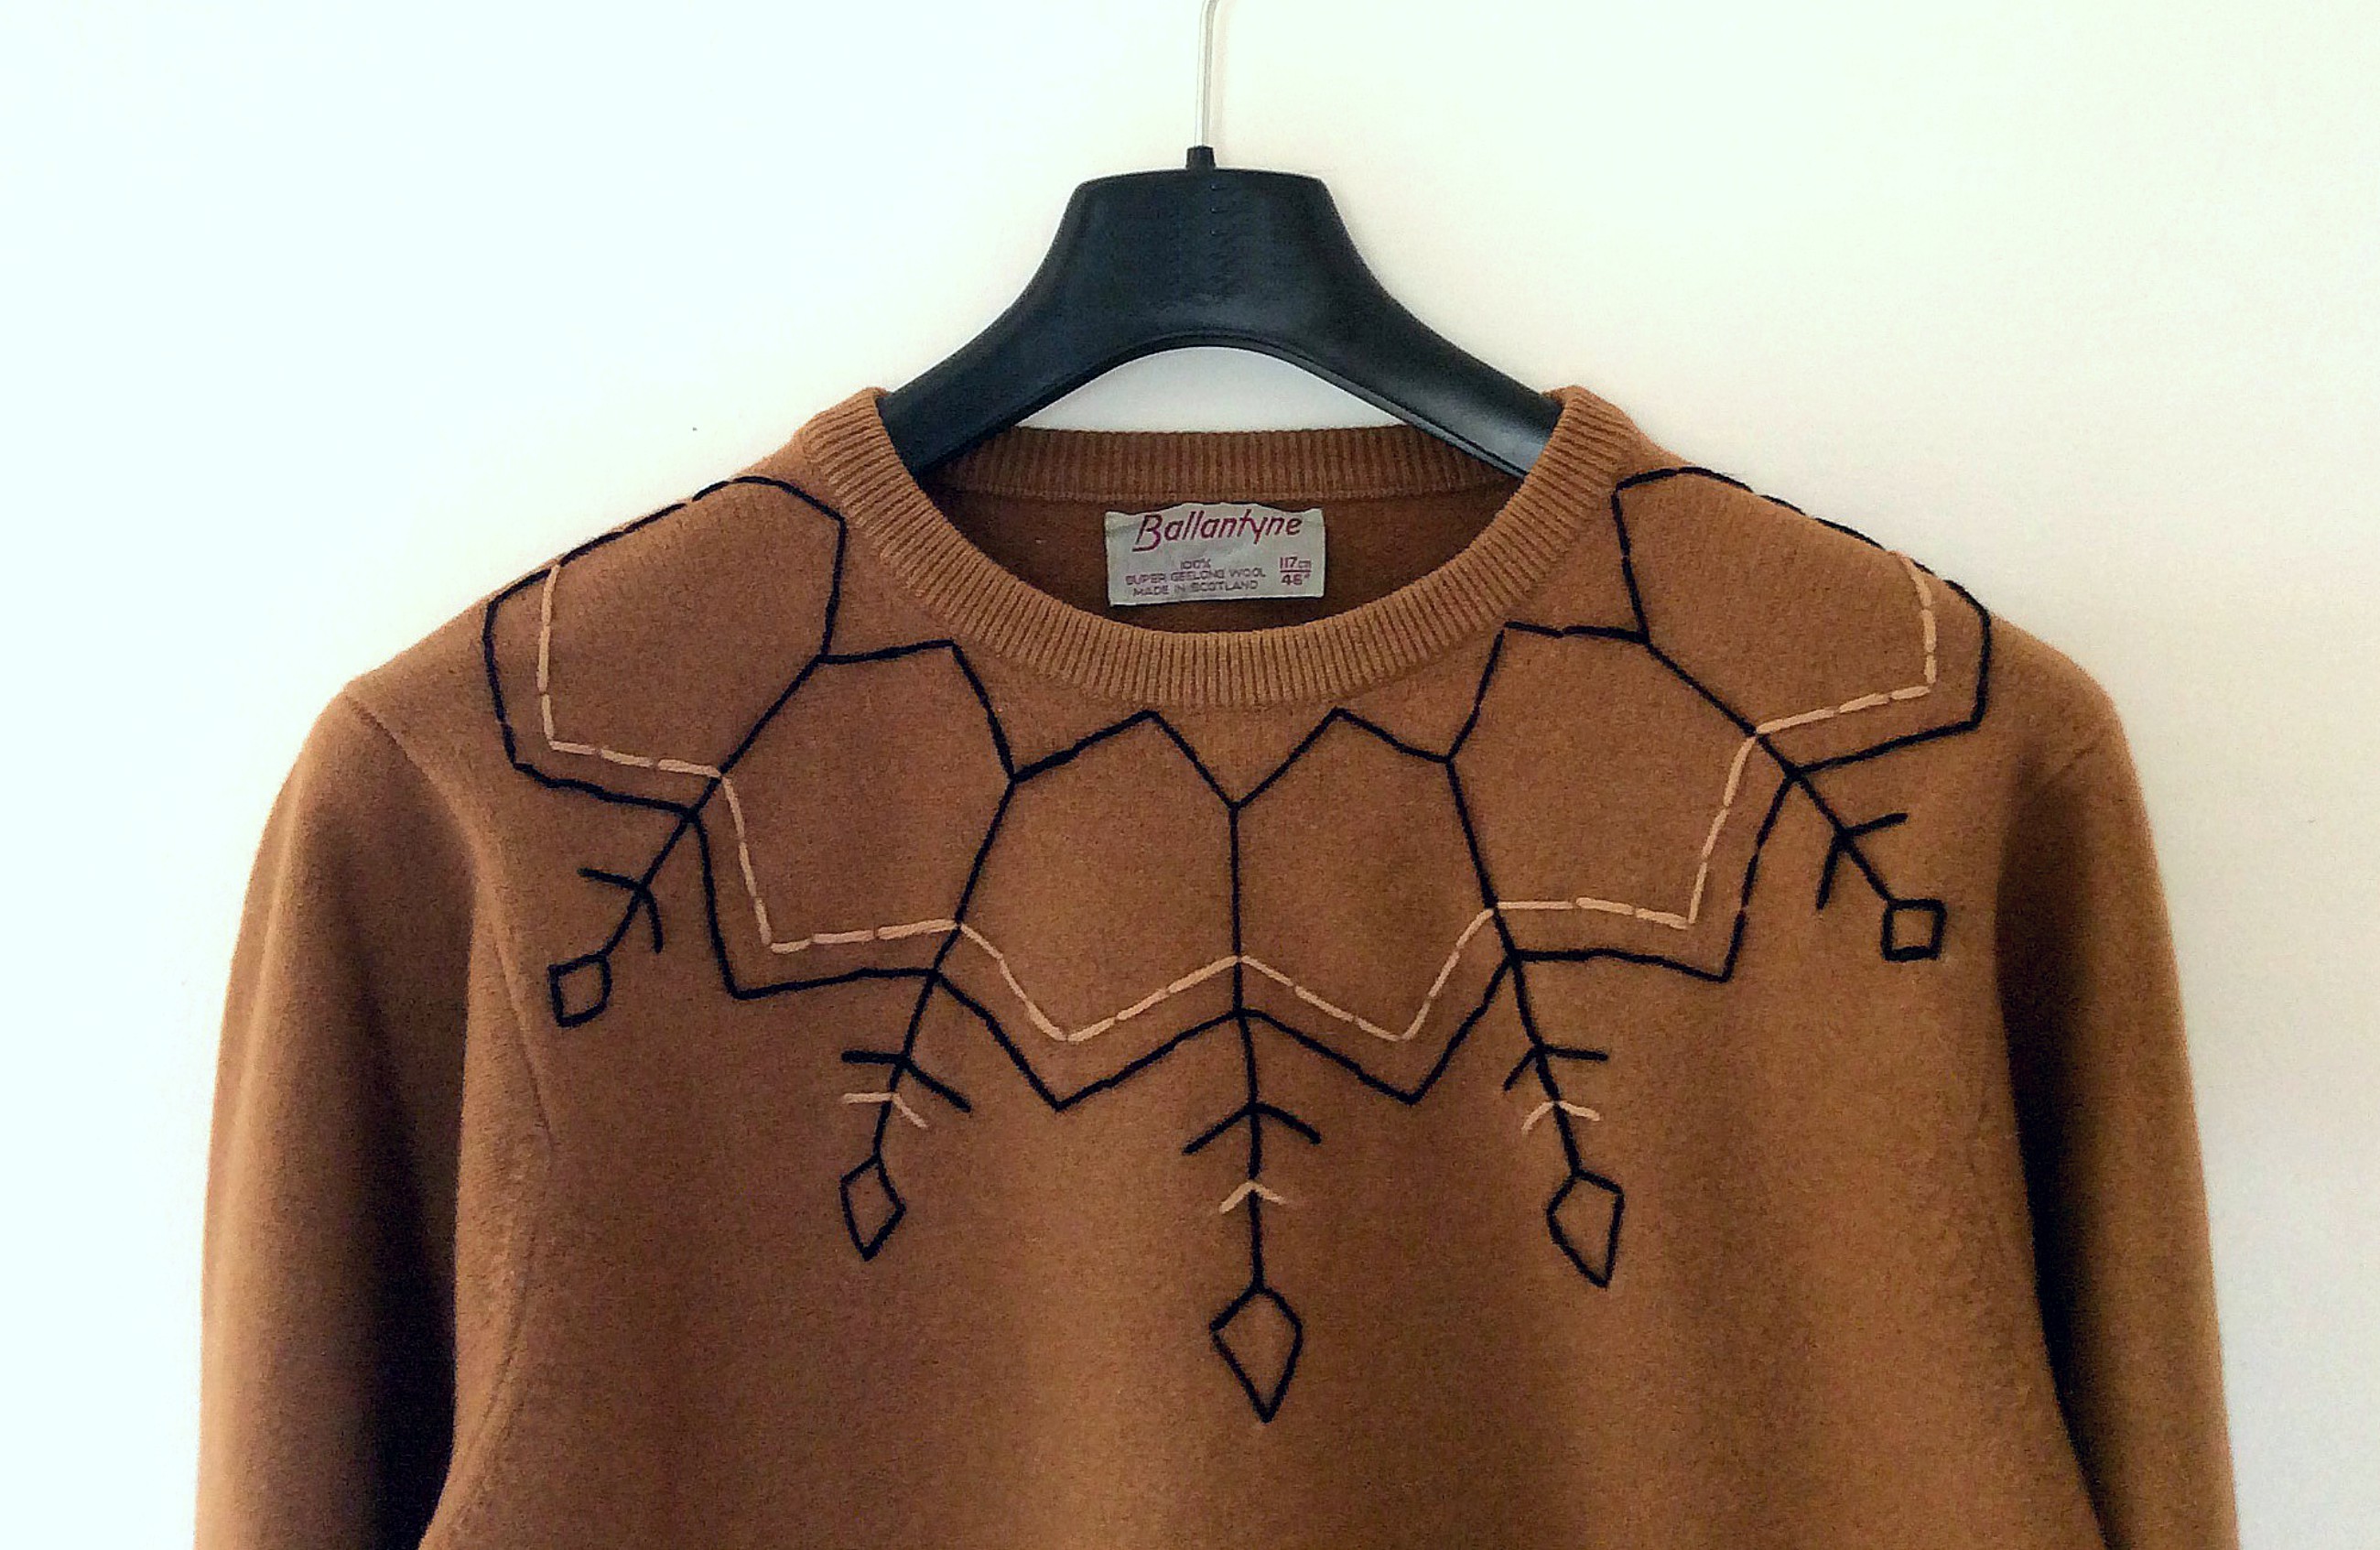
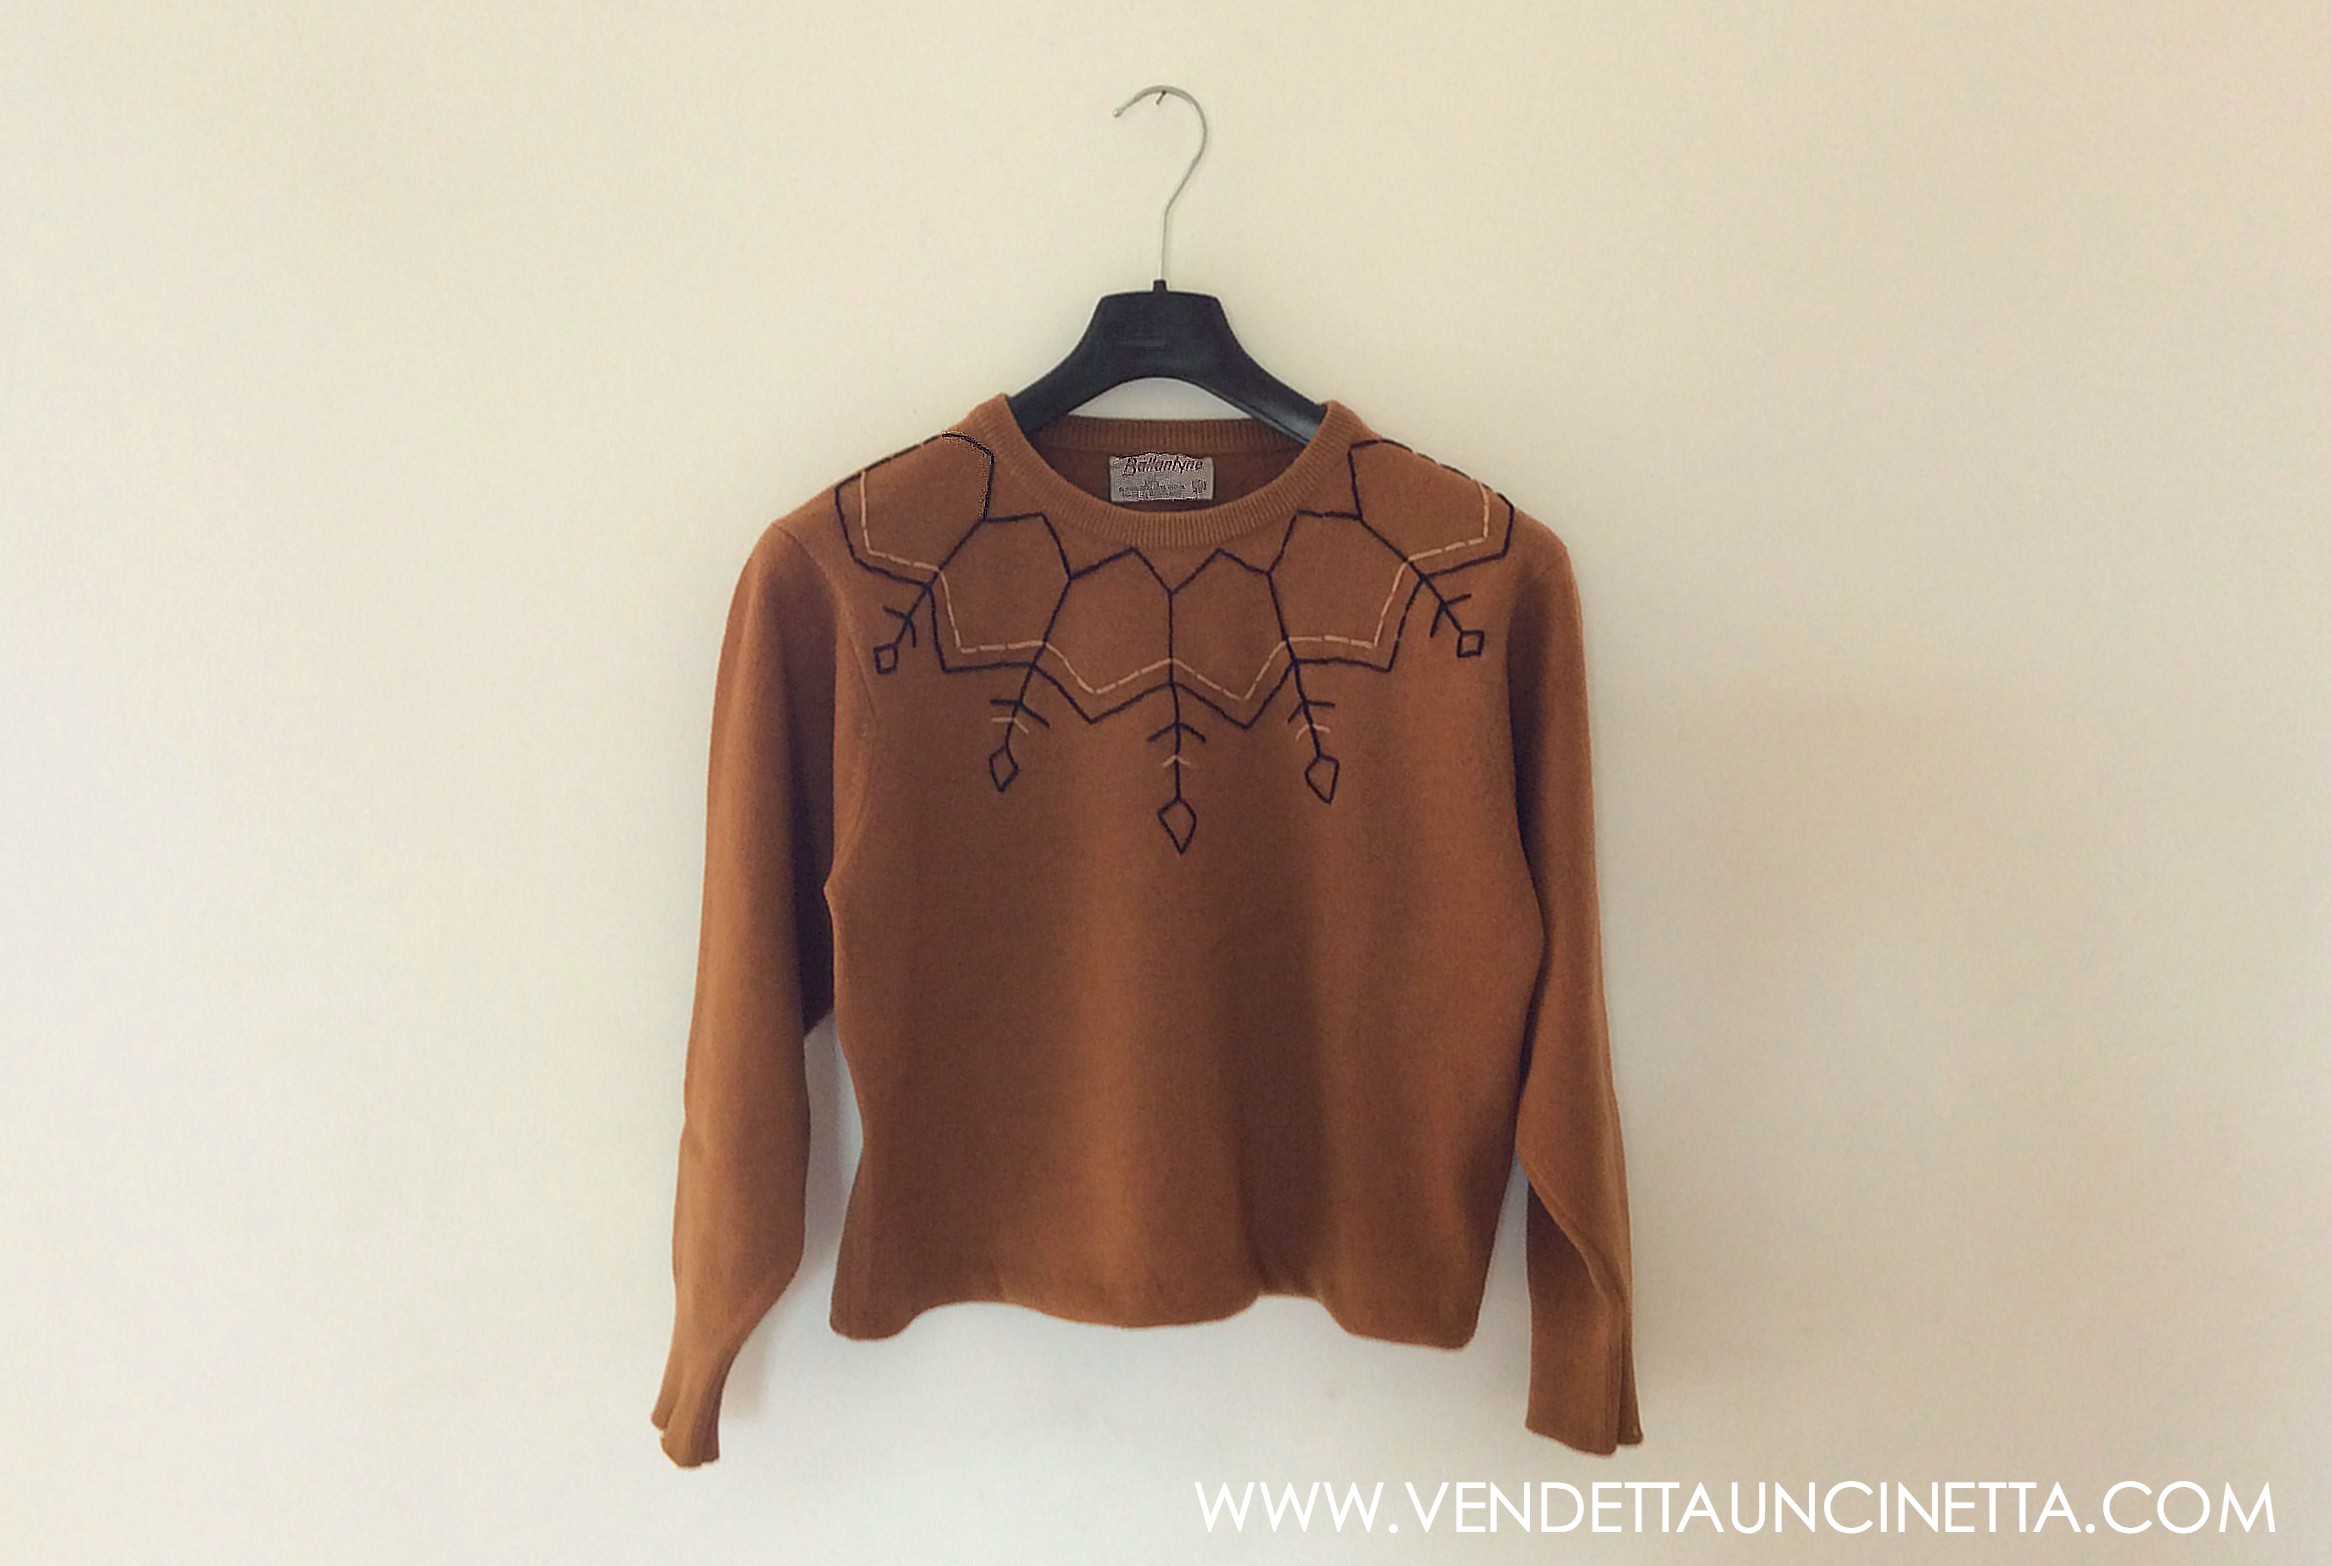
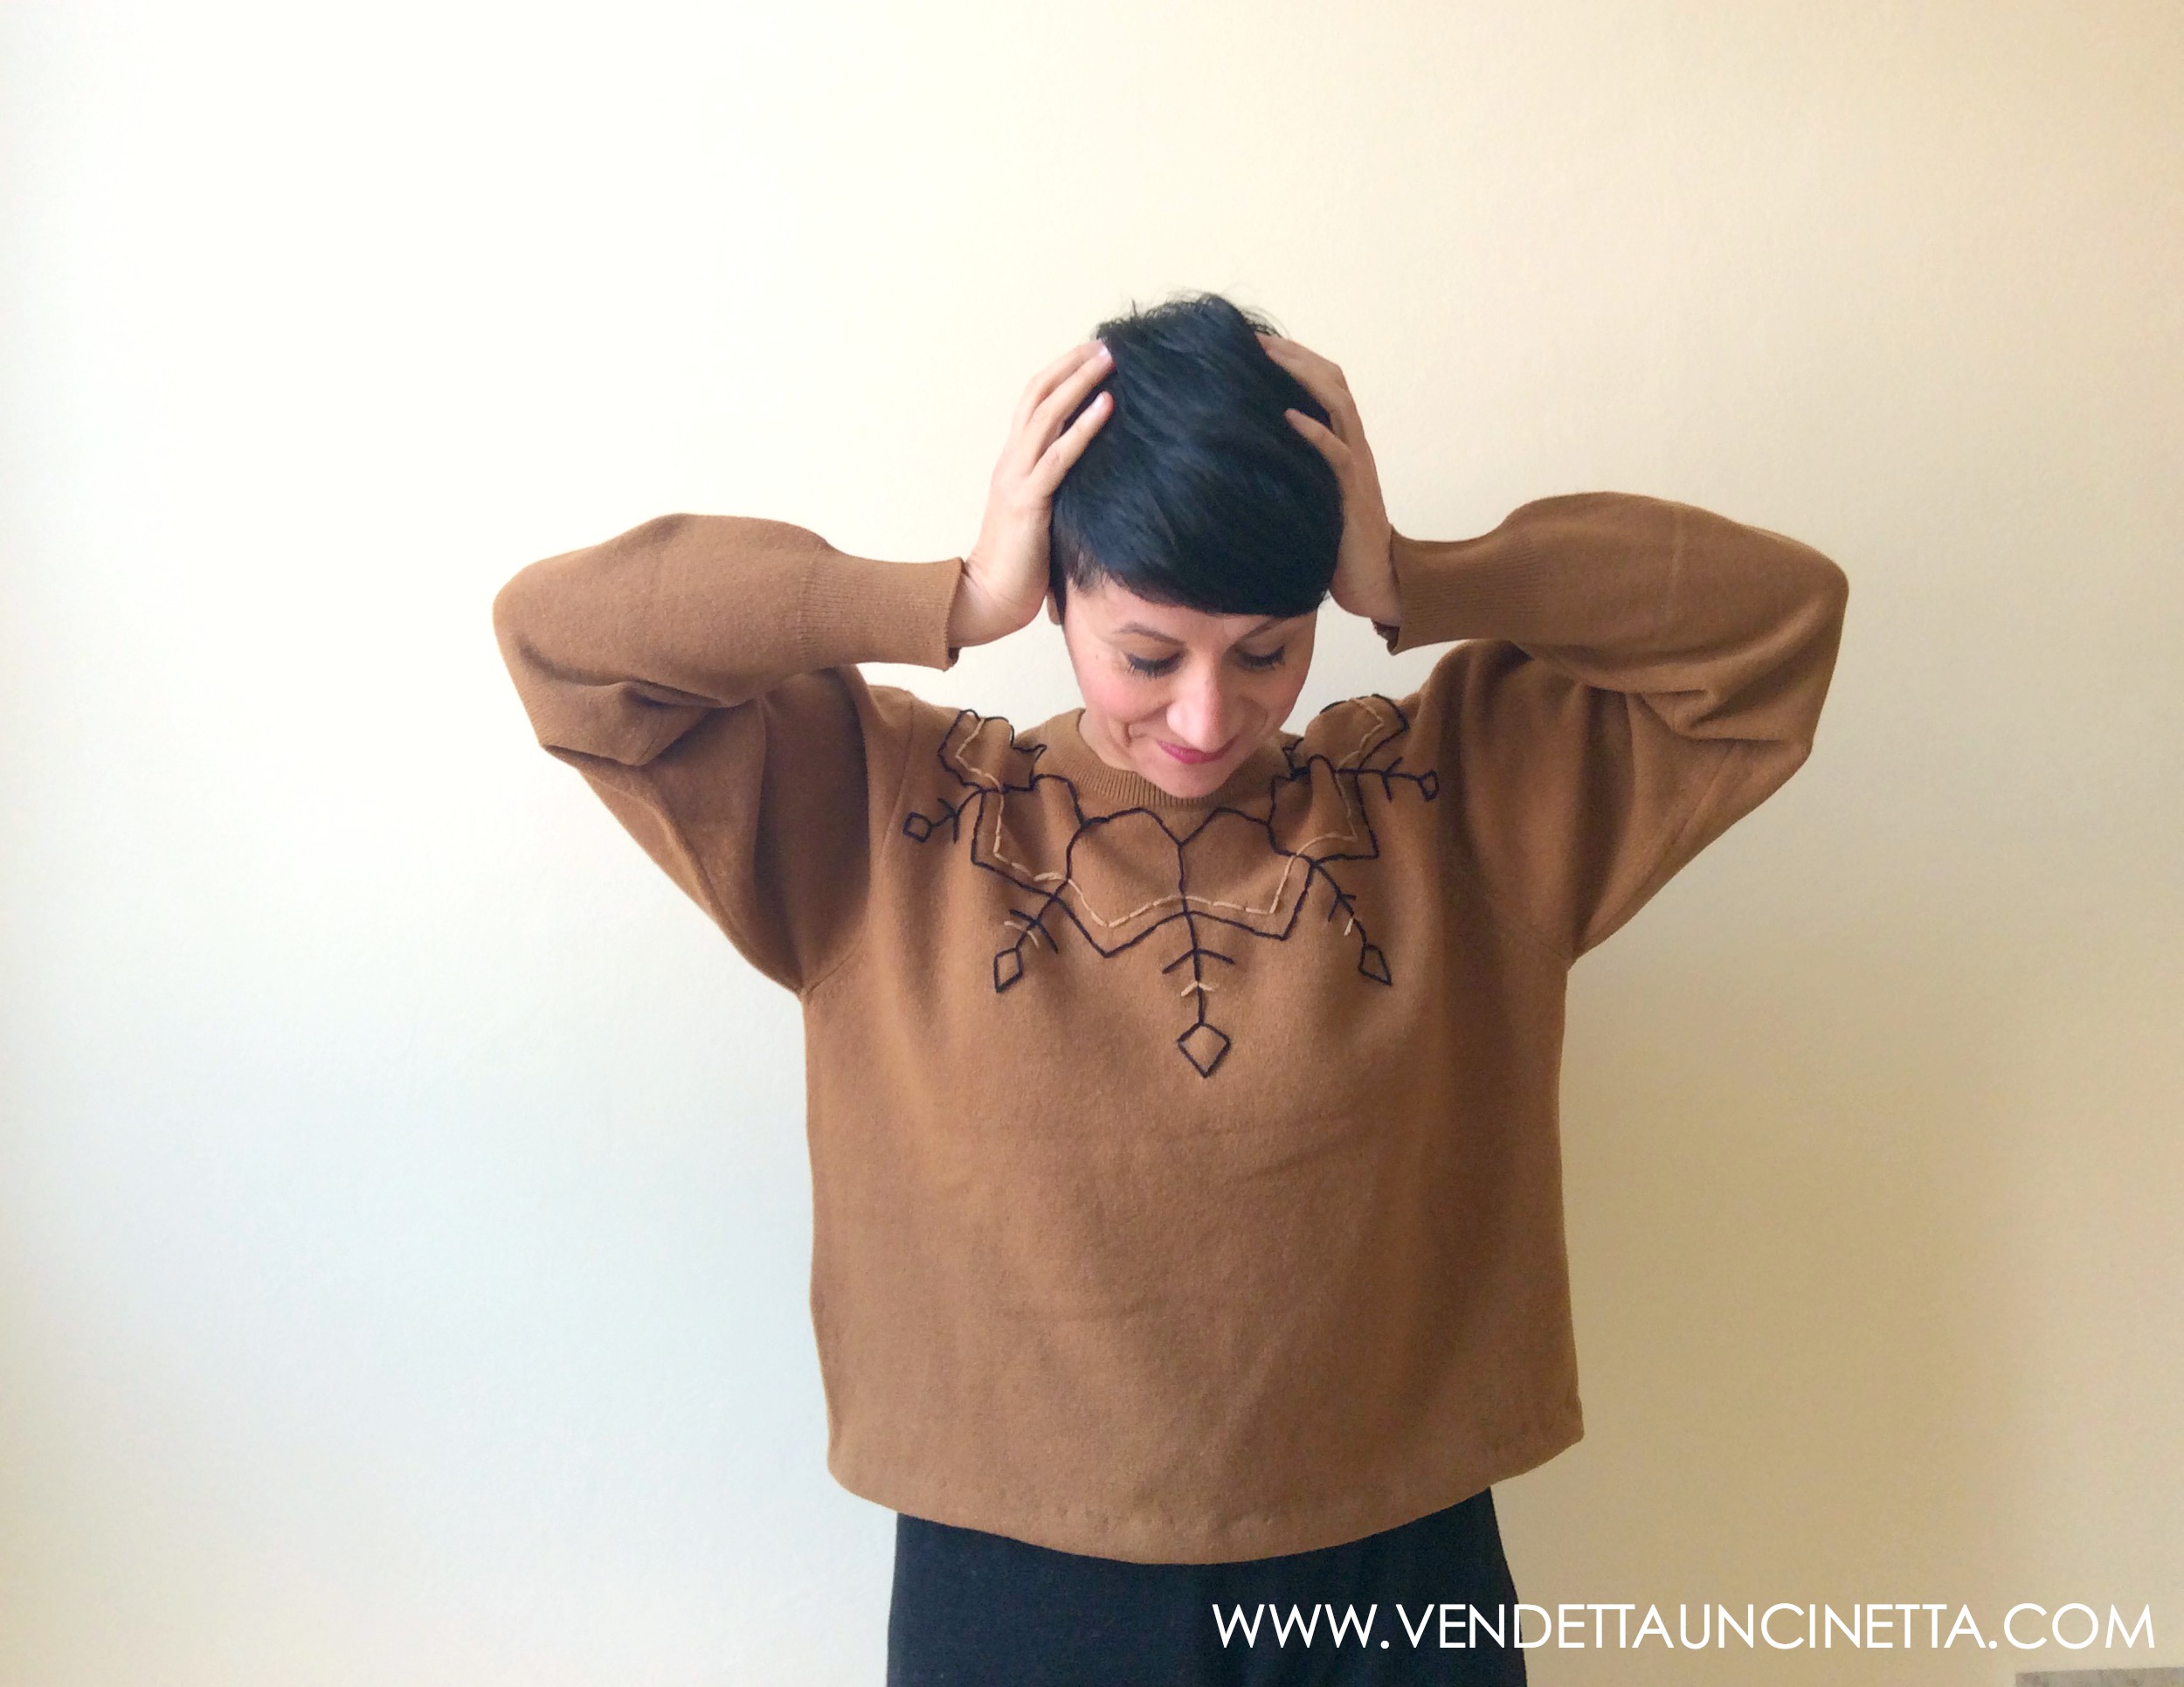
Ho tagliato il fondo, rendendolo anche più femminile, e aggiunto un semplice ricamo che riprende i disegni tradizionali Fair Isle, ottenendo un effetto grafico e contemporaneo. Sono sicura che vi sarà di spunto per anche per una vostra idea!
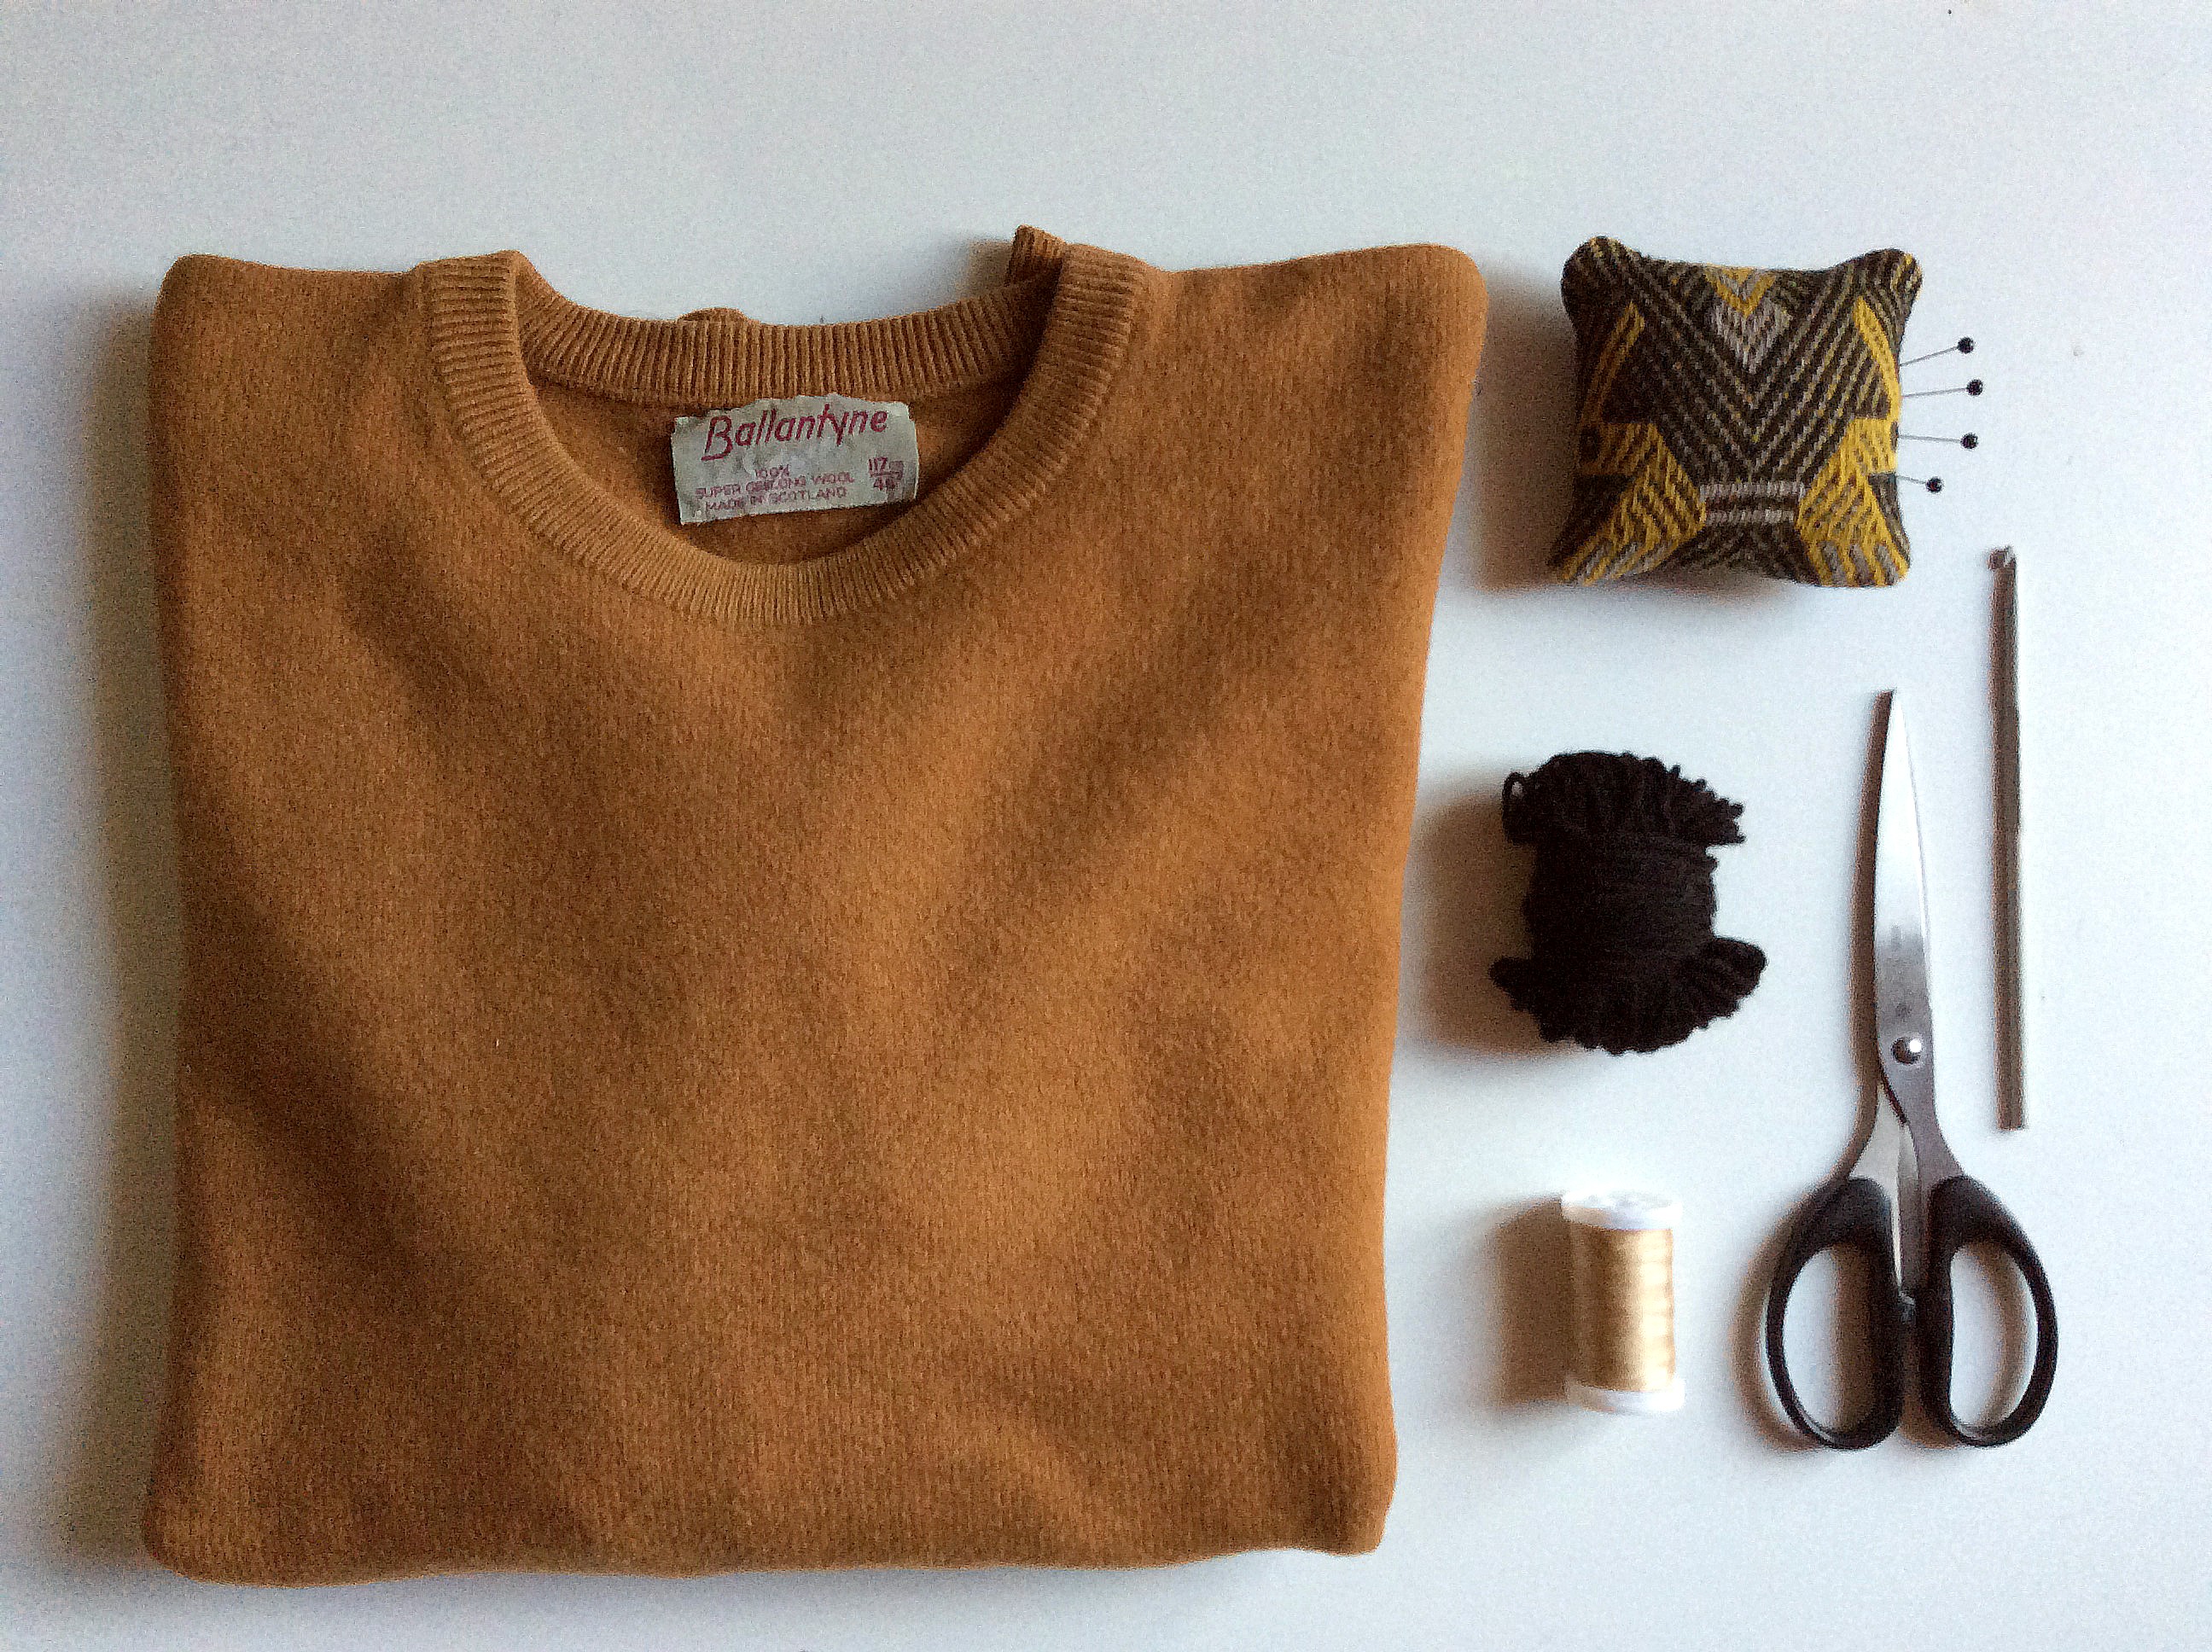
Ti servirà:
Un maglione basico
Forbici da tessuto
Ago da lana, ago da cucito
Filo da cucito in tinta col maglione
Macchina da cucire
Spilli
Matita da sarta e righello (per un disegno geometrico)
Metro da sarta
Lana del colore che vuoi abbinare
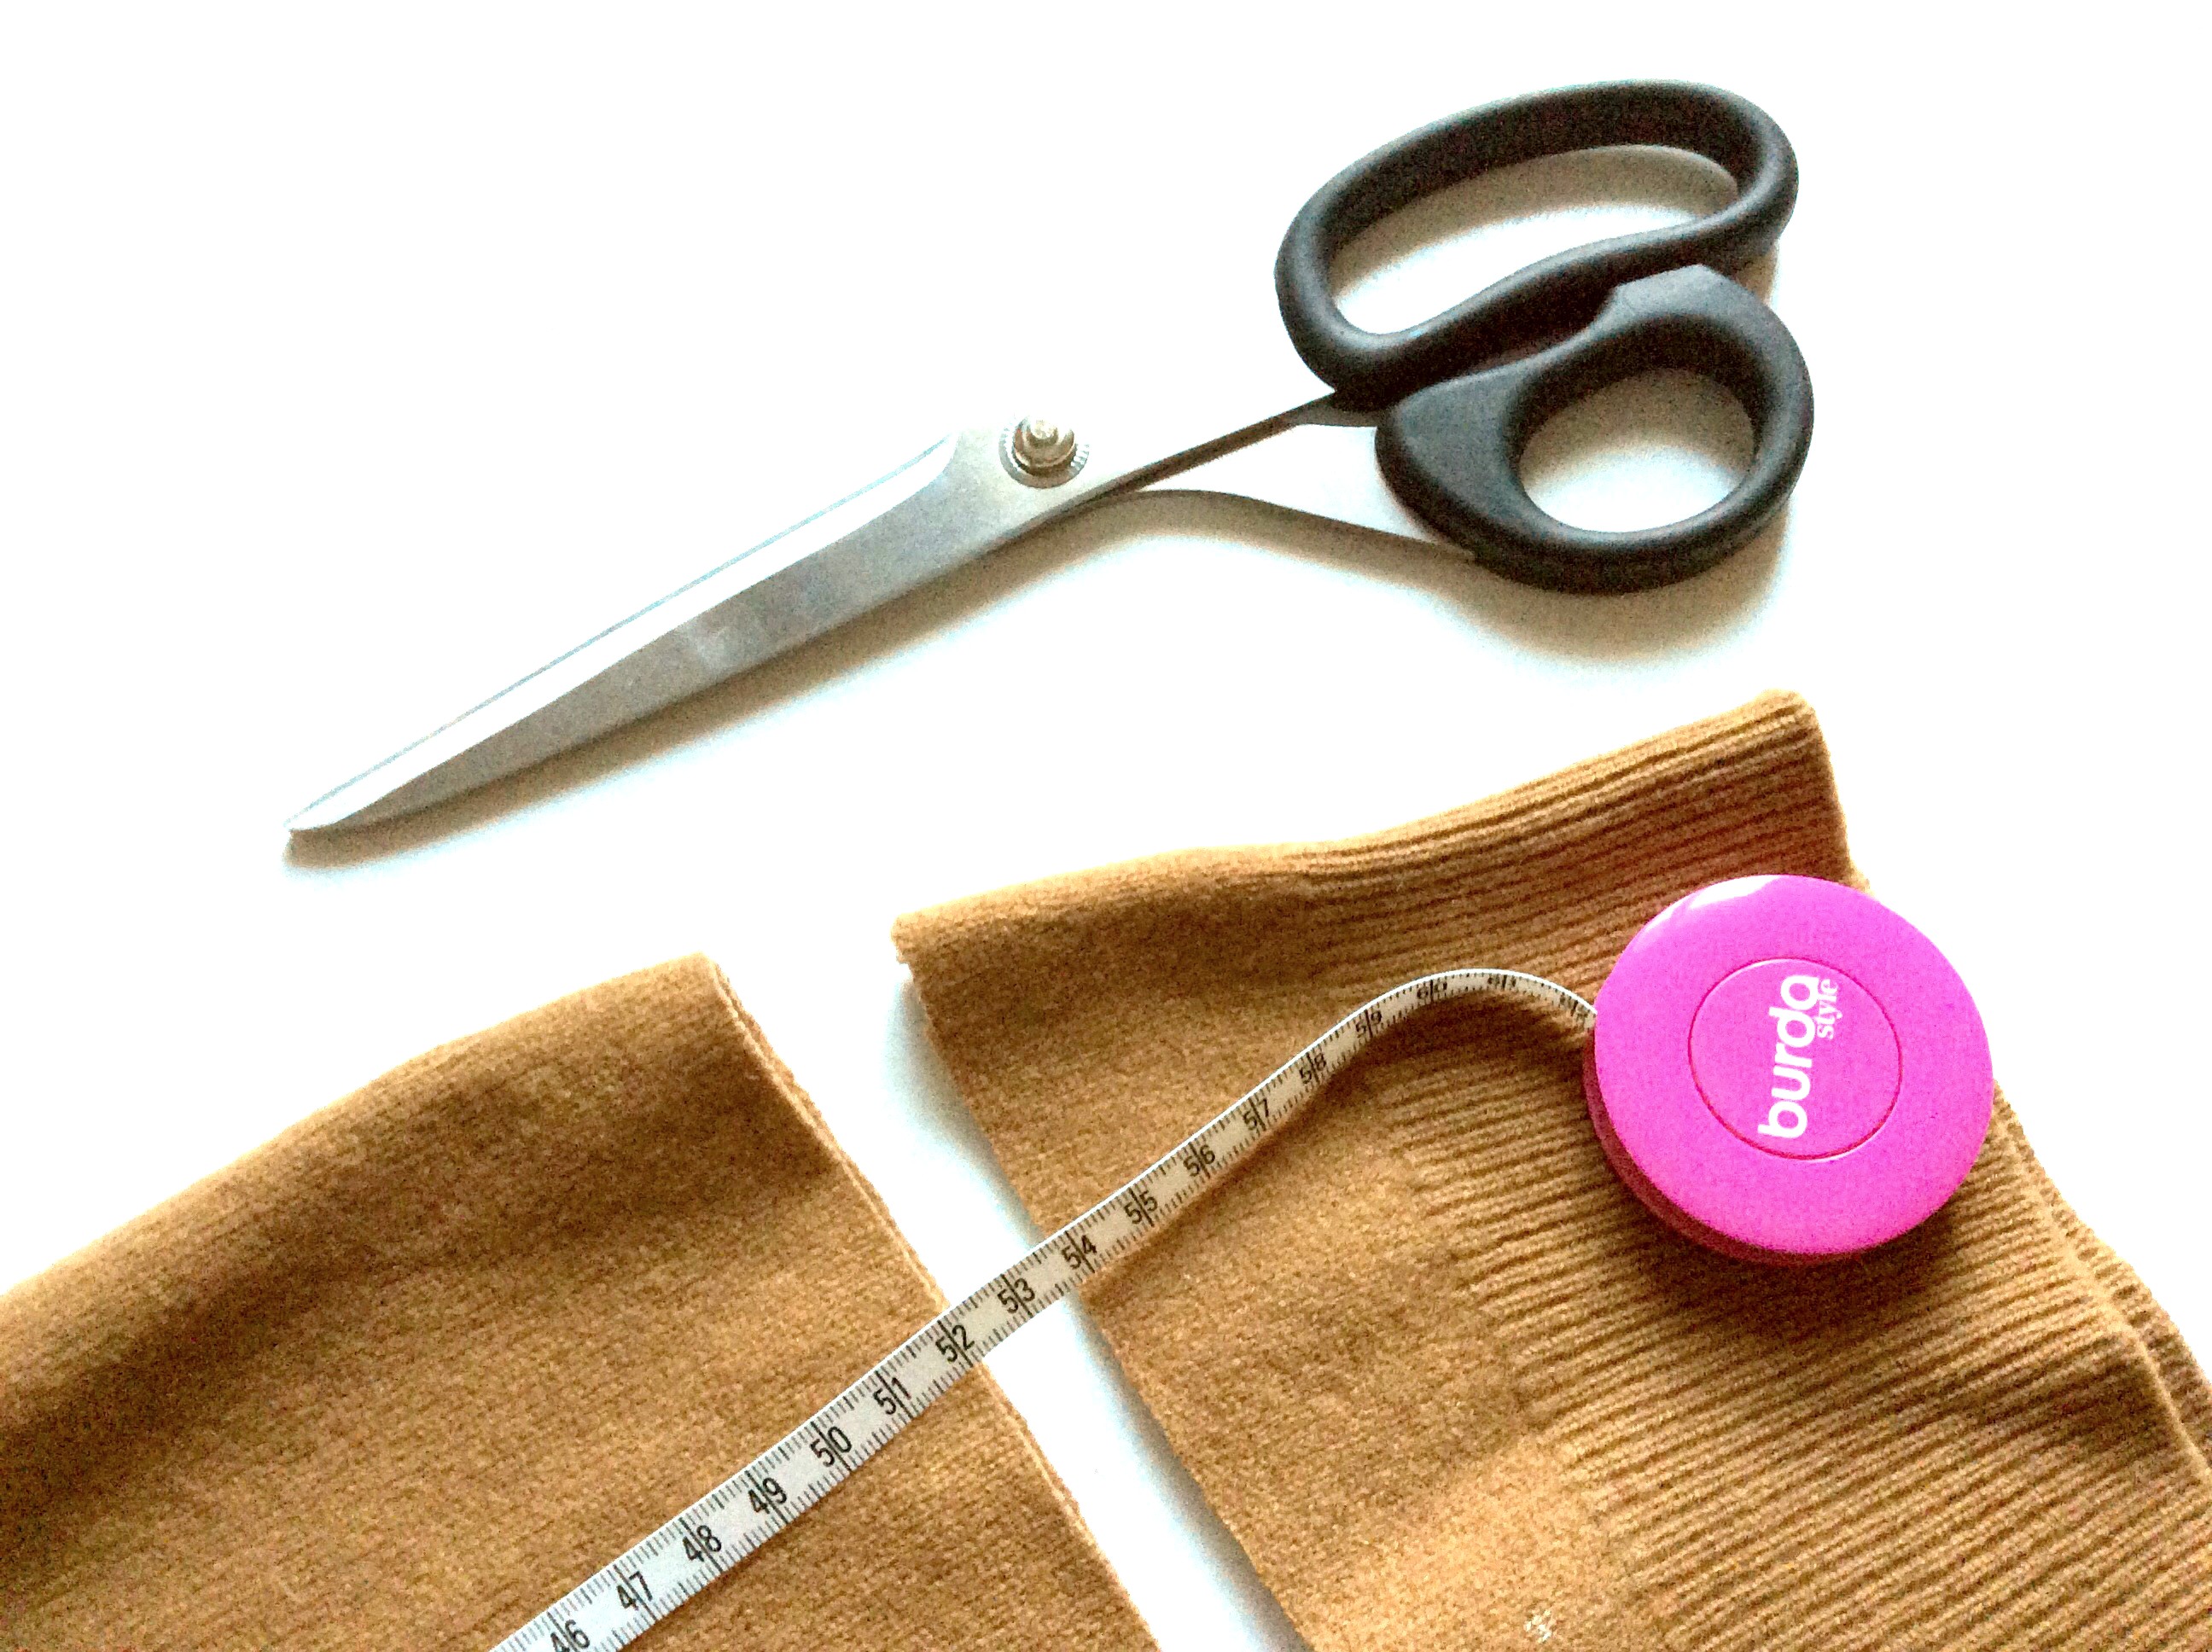
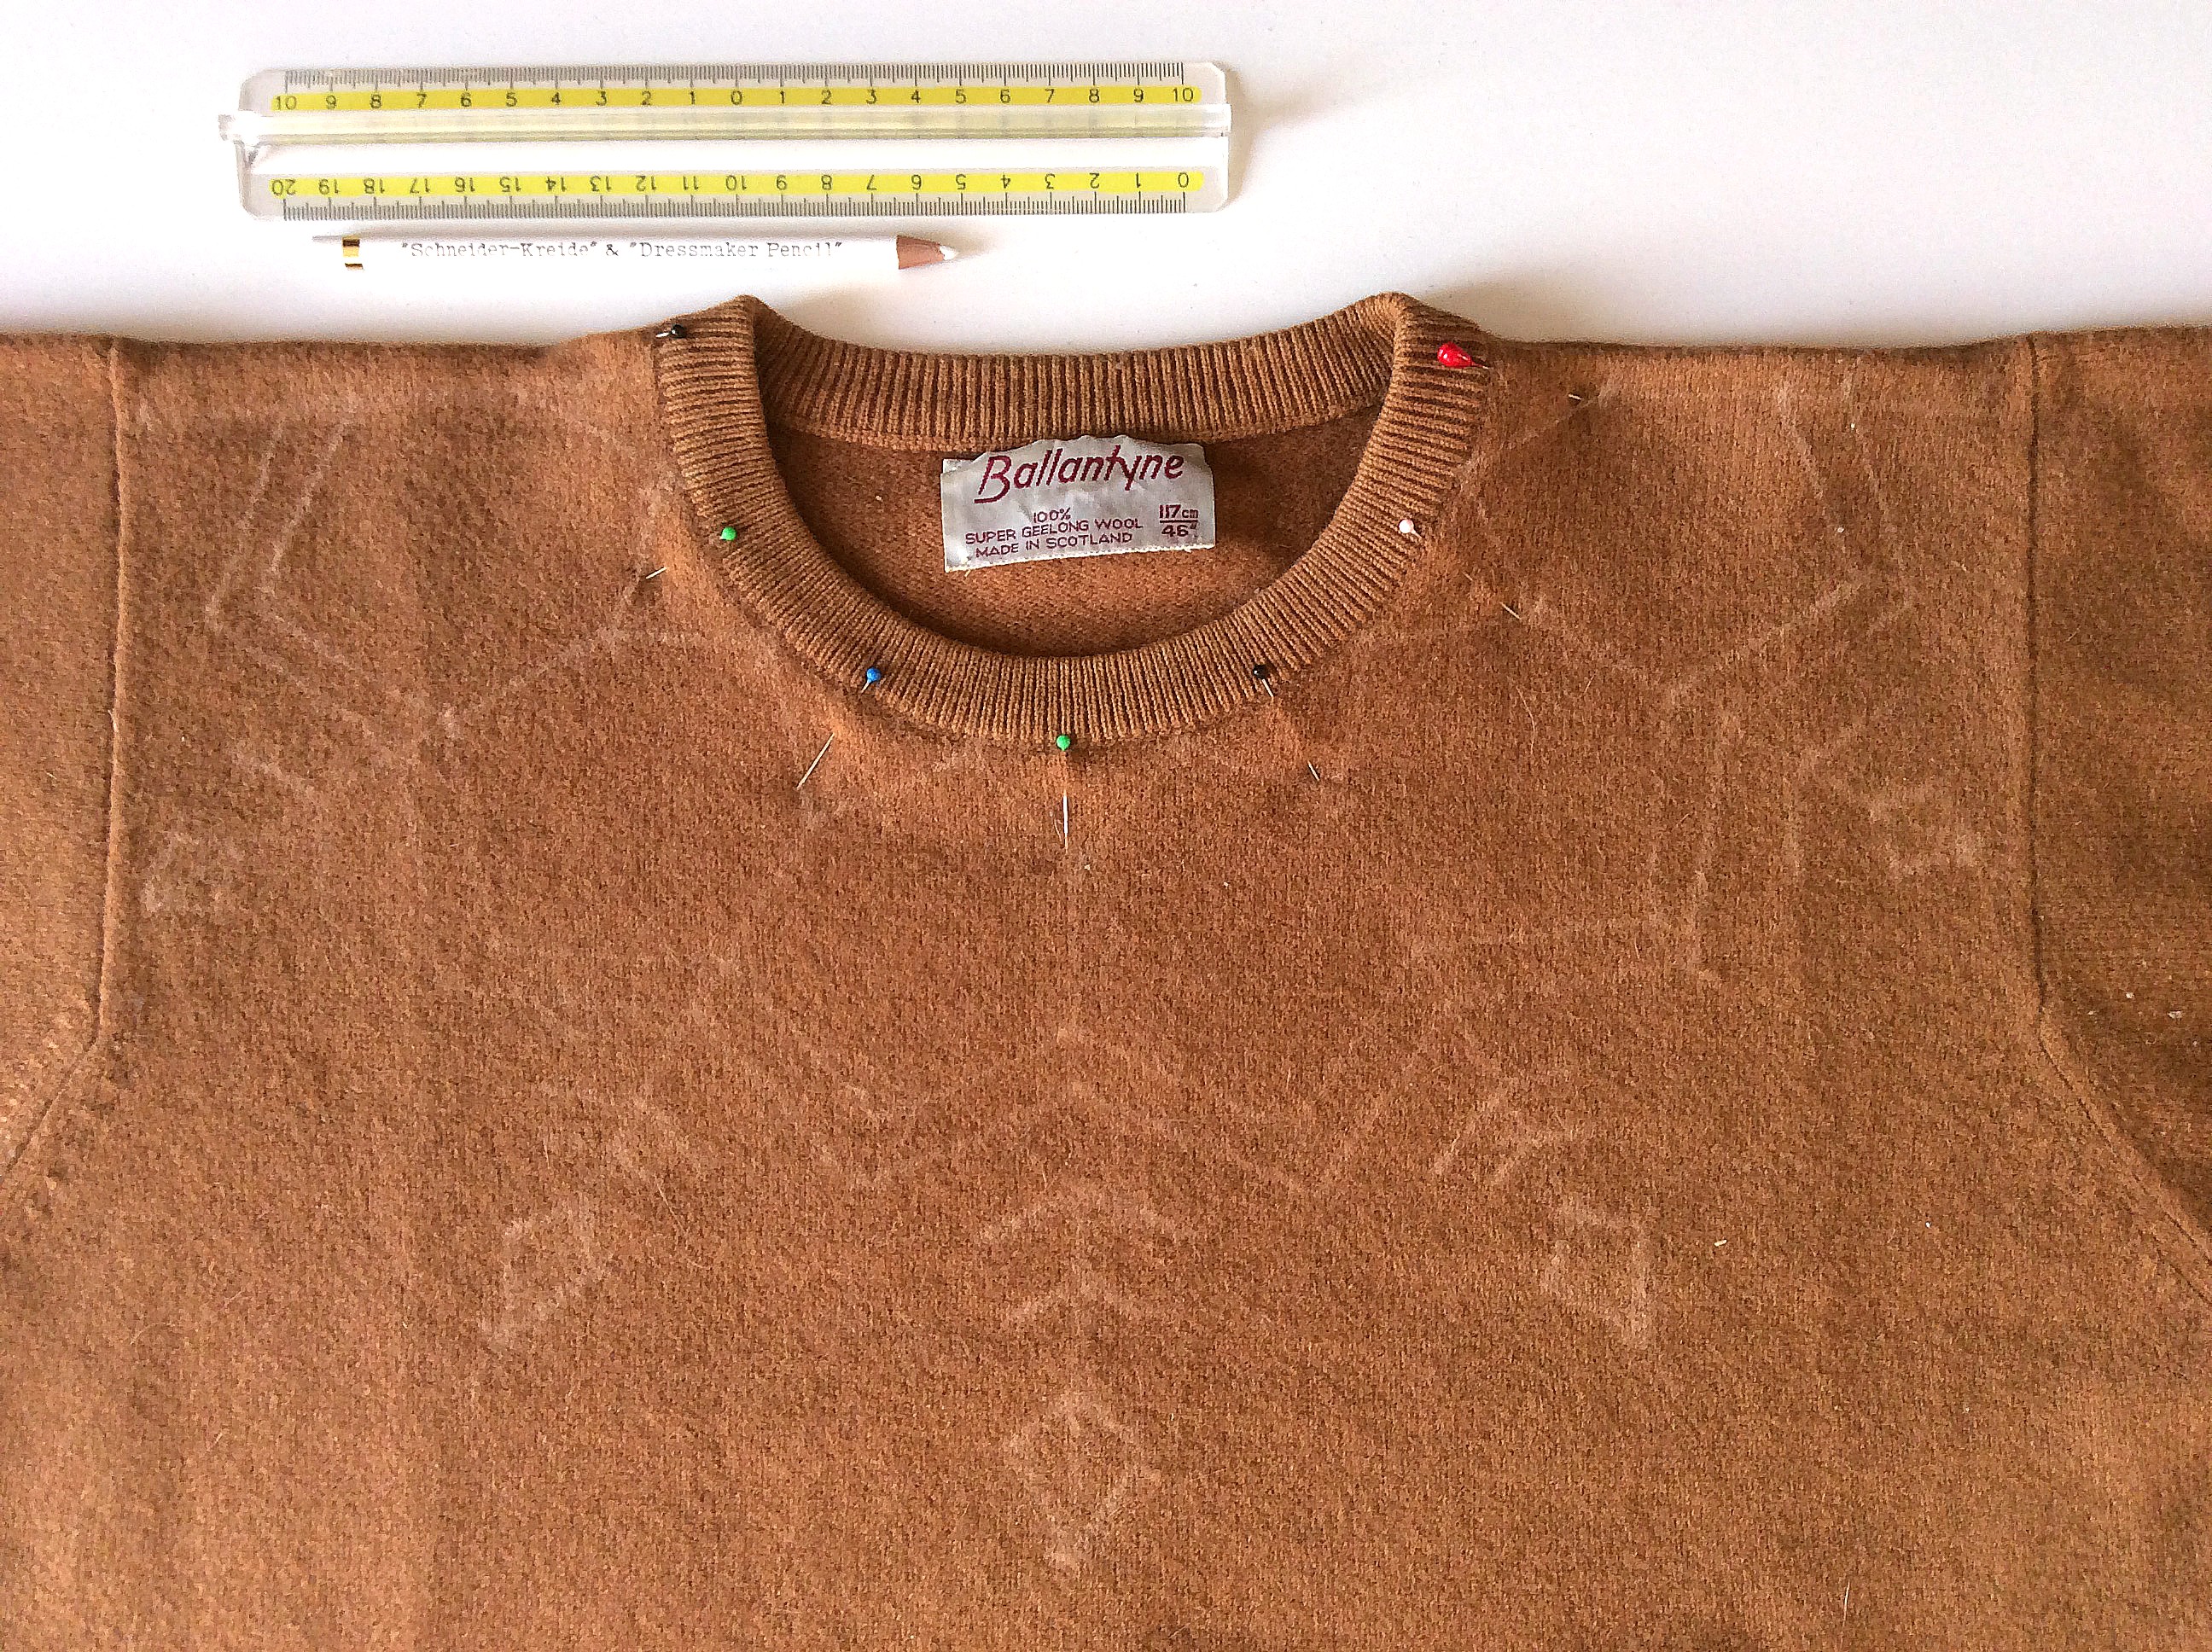
1- Misurando la lunghezza totale che vuoi per il tuo maglione dalla spalla (io ho contato 50cm ma sono “alta” 1.60) e aggiungi a questa misura un paio di cm in più per la cucitura e l’orlo, poi taglia facendo attenzione ad andare dritta.
 2-Con la macchina da cucire, fai uno zig zag sul bordo del tessuto.
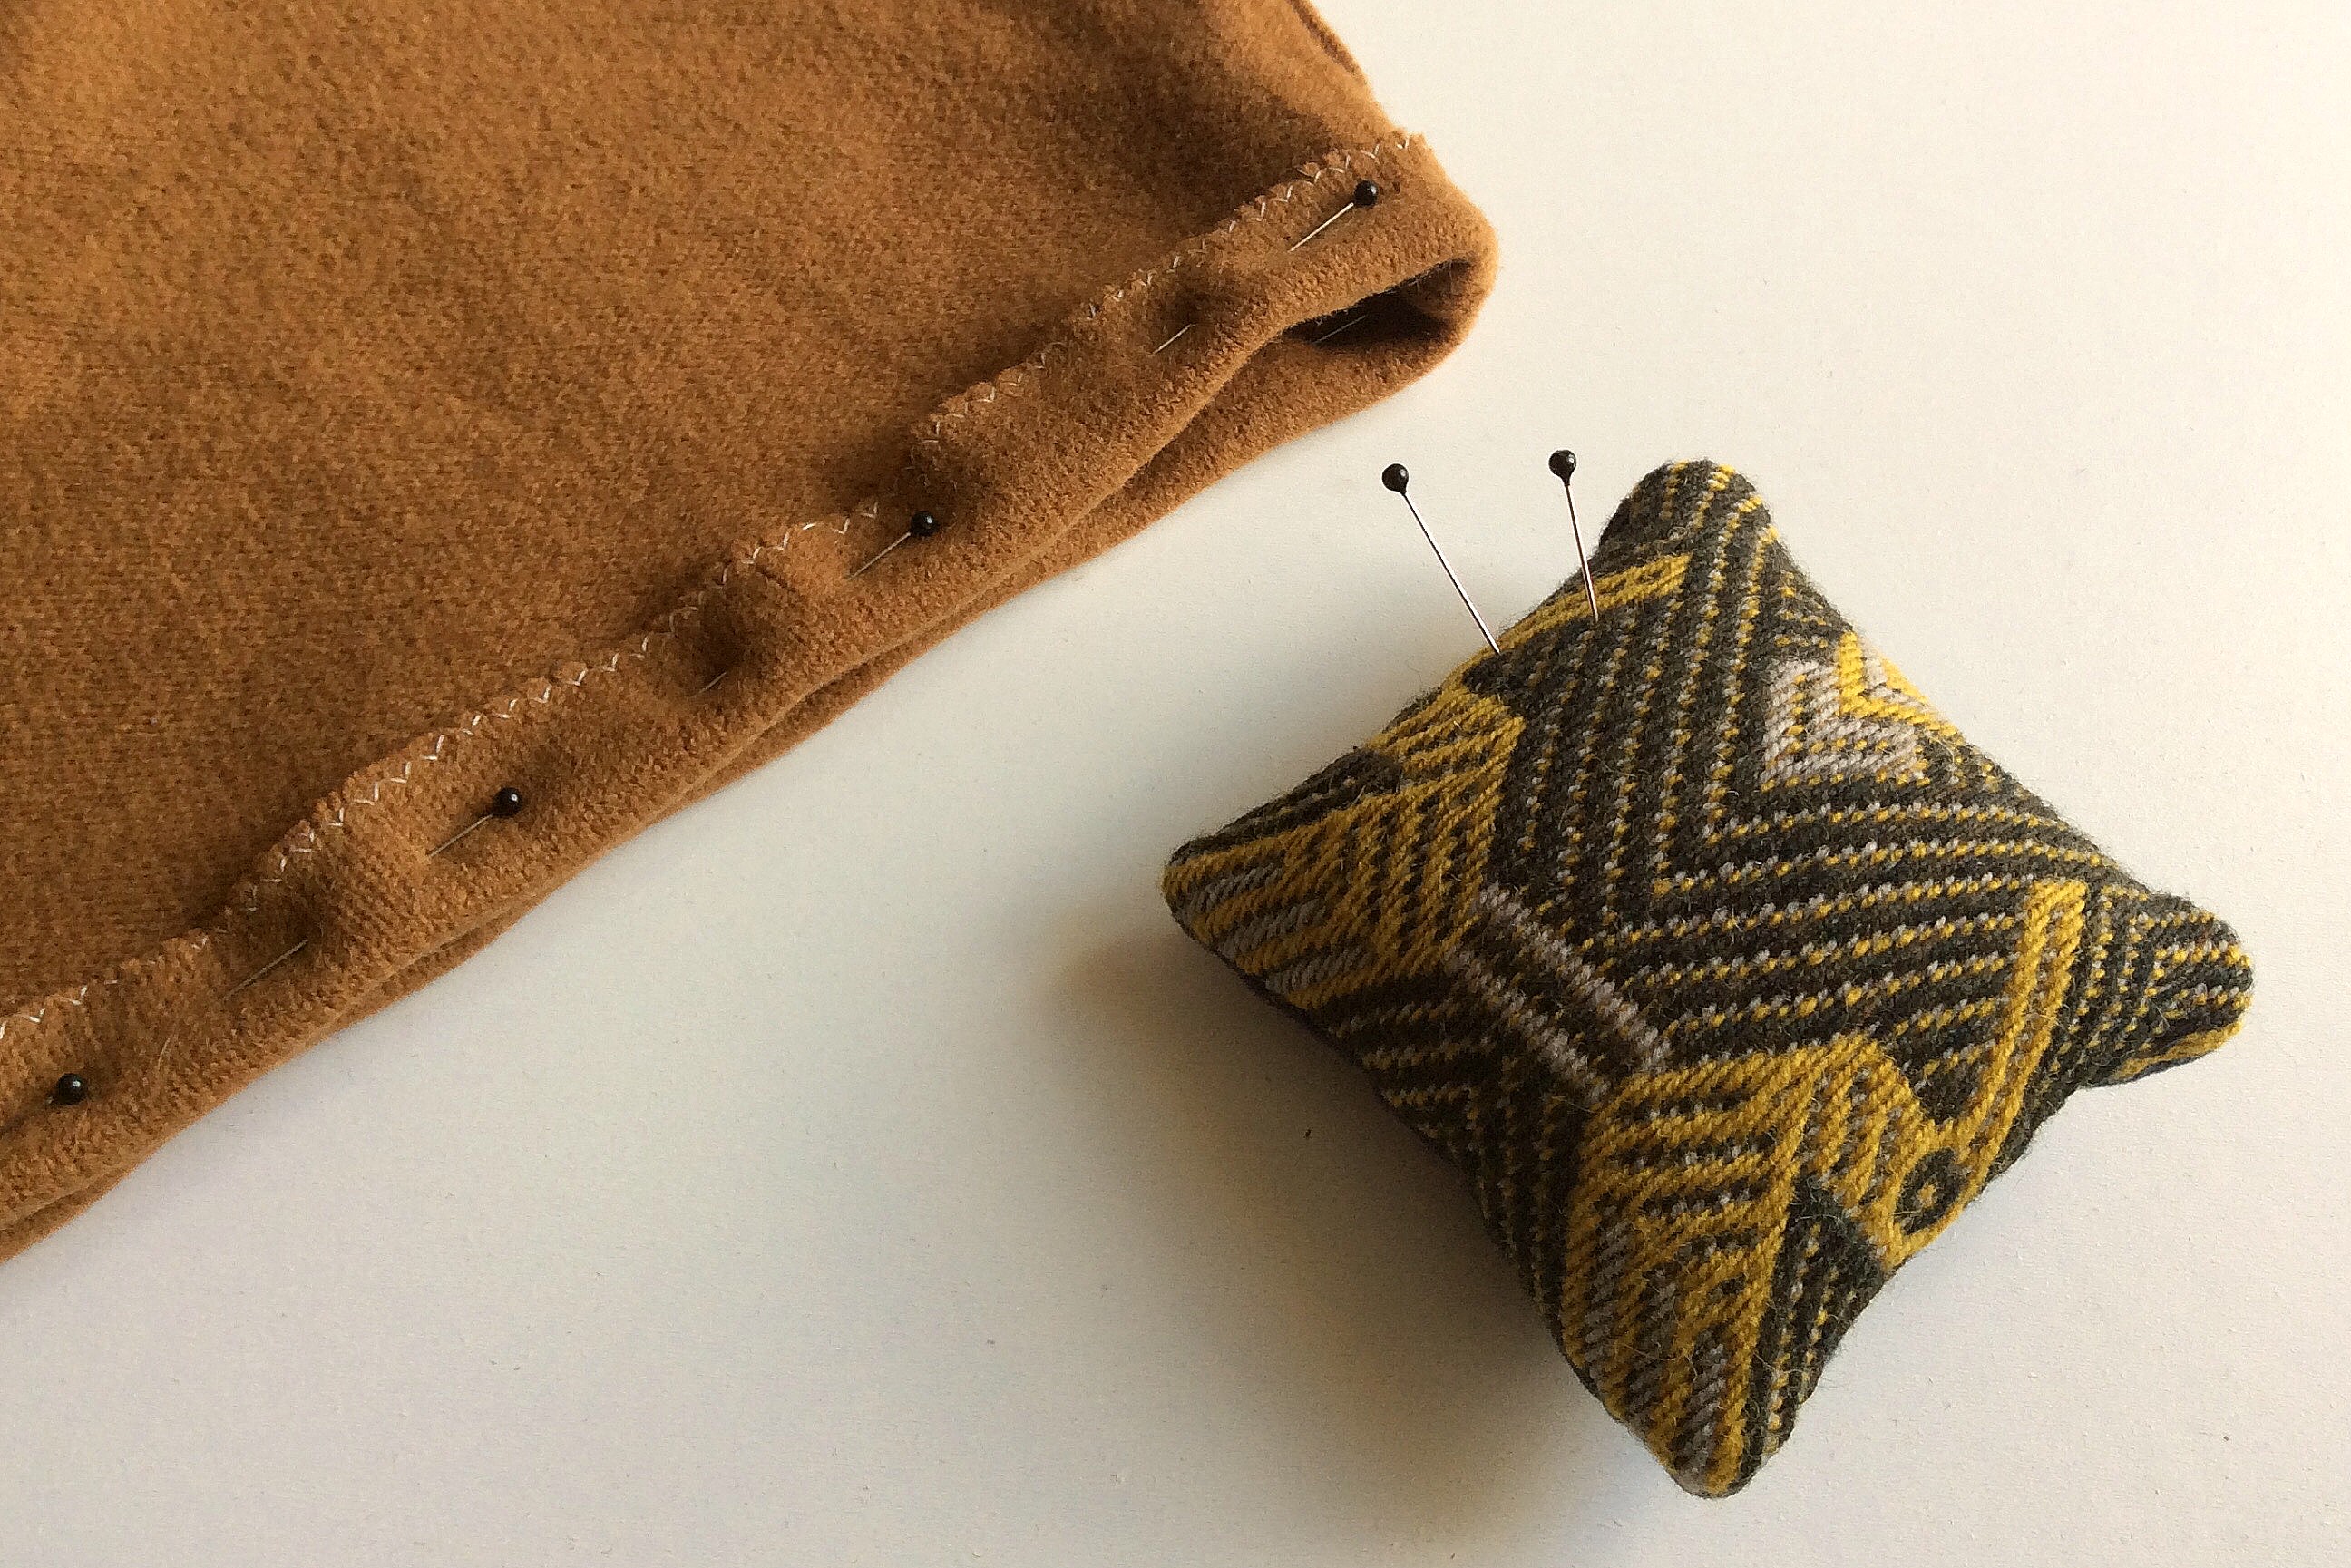
 3-Gira il maglione al rovescio e piega il bordo fermandolo con degli spilli.
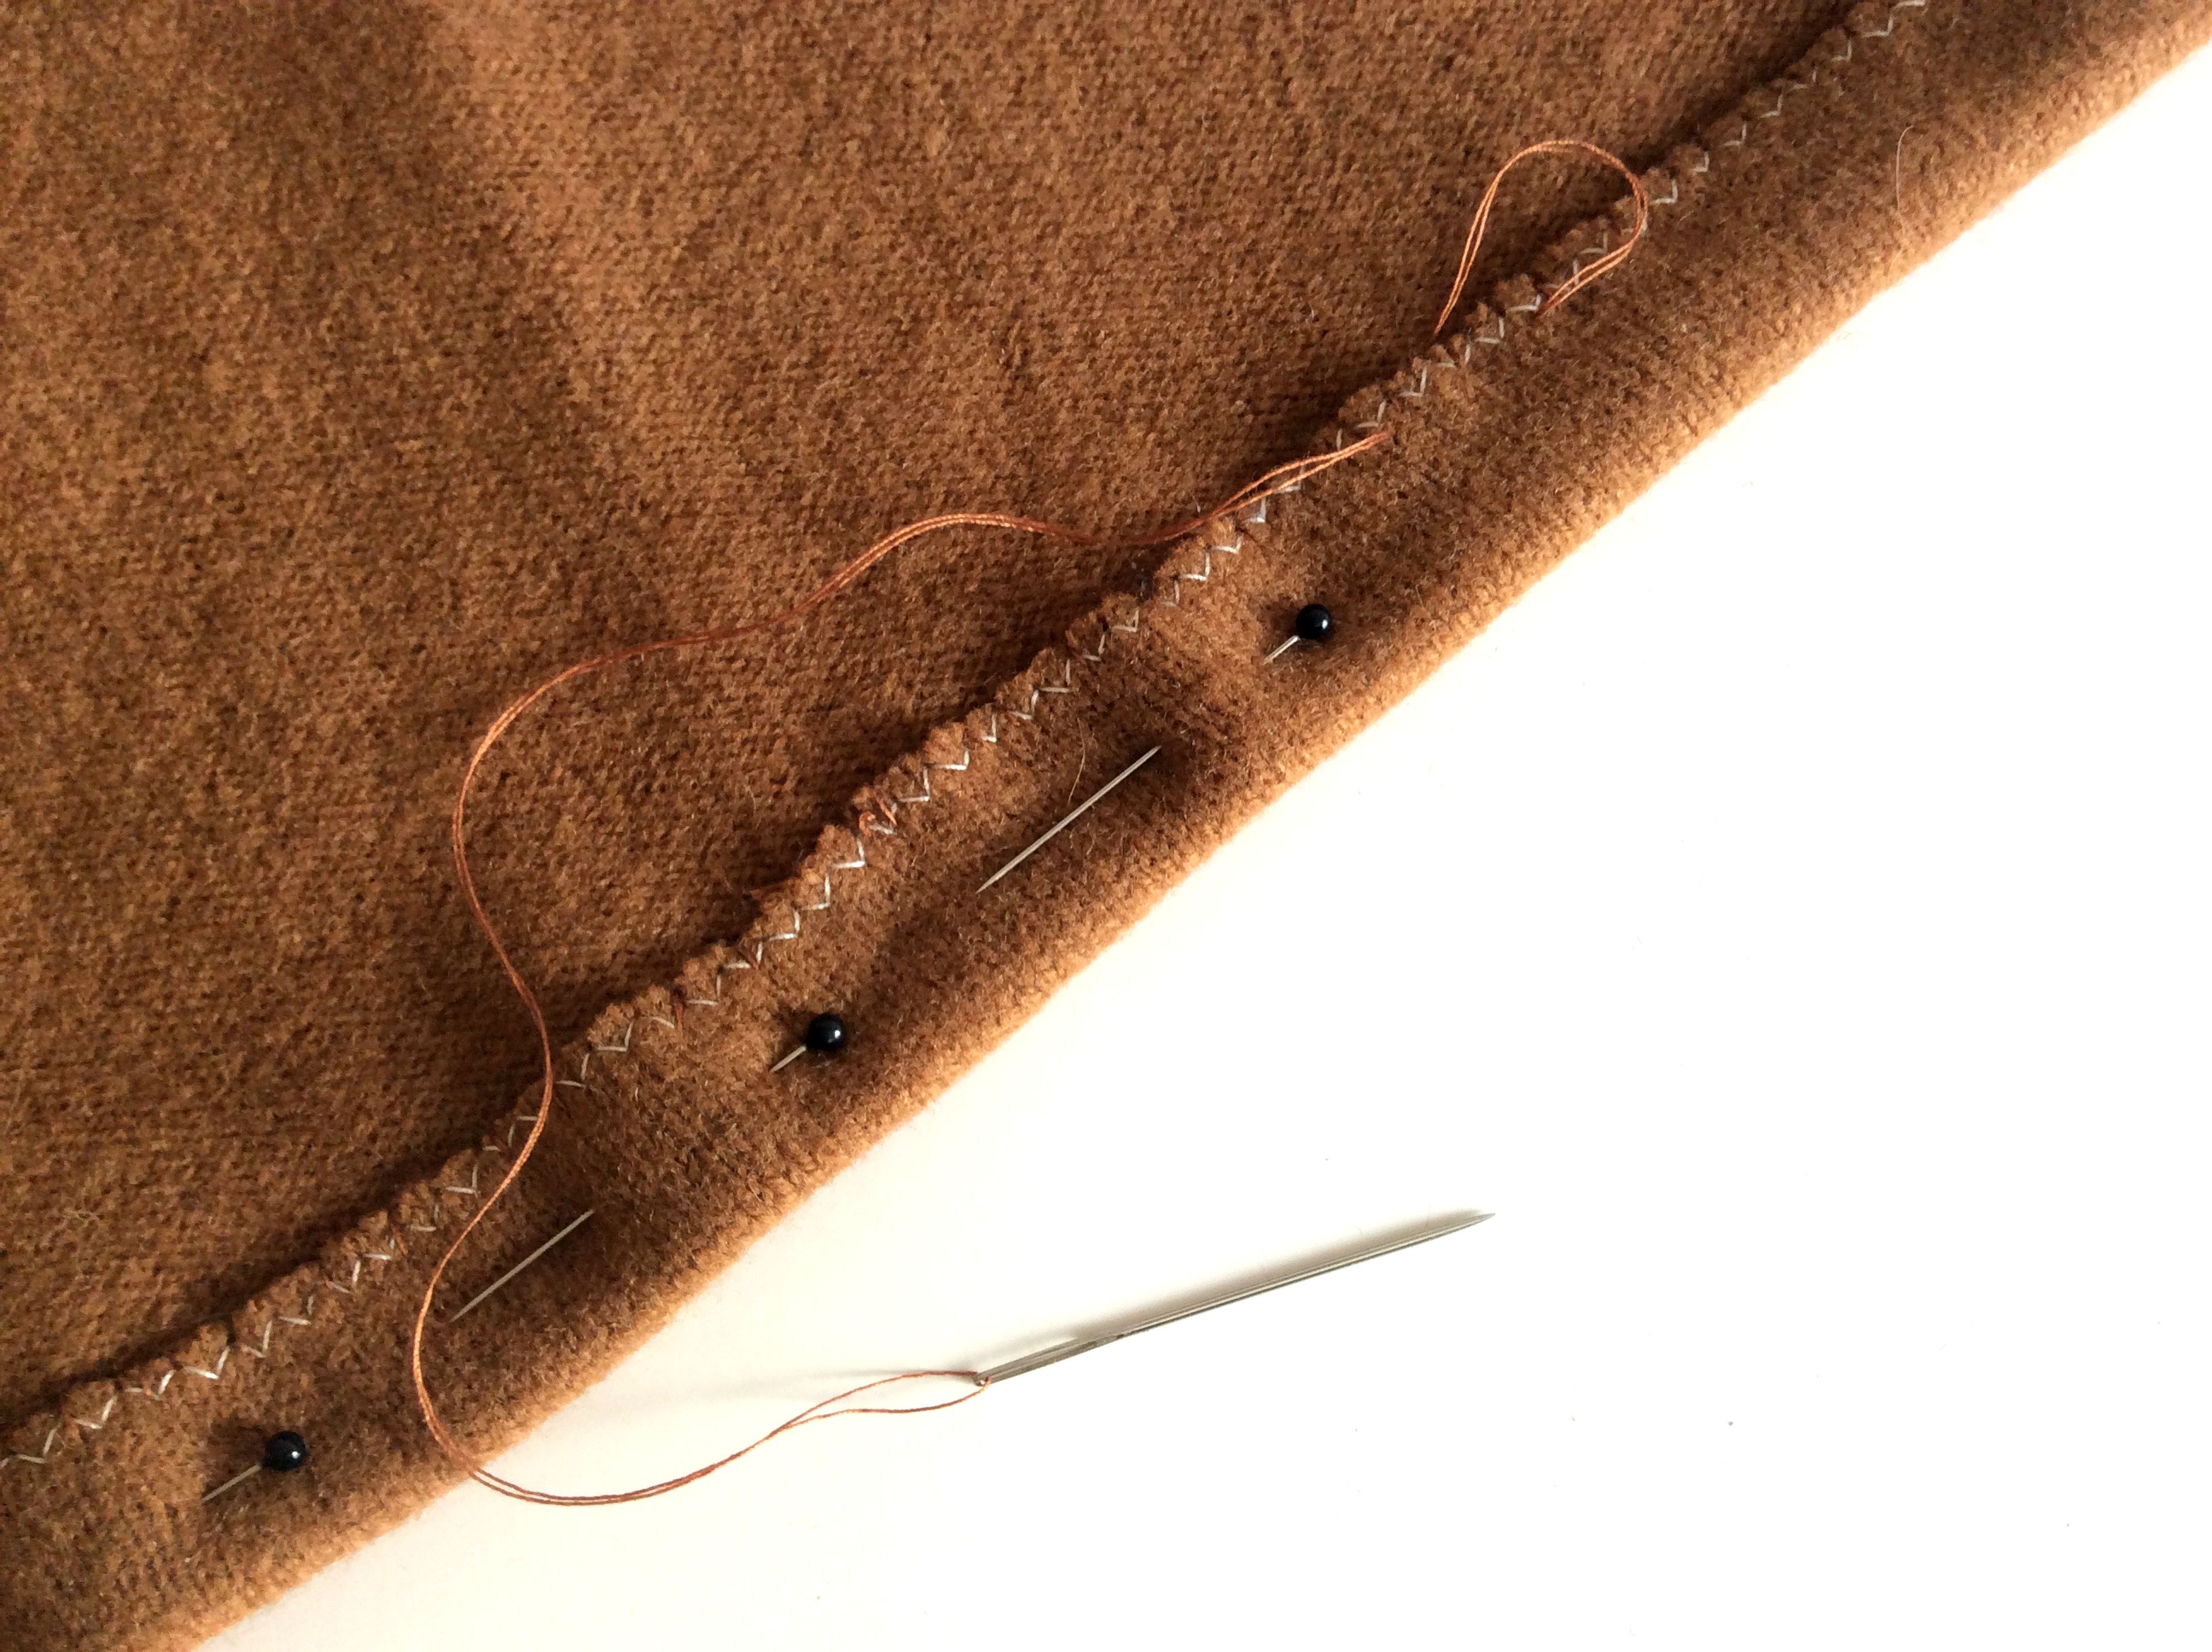
 4- Con ago e filo, fai de piccoli punti a cavallo del bordo, fermando il bordo.
5- Ora con la matita traccia il disegno che vuoi realizzare.Se vuoi fare qualcosa di geometrico come me, con l’aiuto del metro dividi in settori uguali la semi circonferenza del collo e traccia con il righello un disegno simmetrico.
6-Ora con ago da lana e filo di lana ricama il tuo disegno! Et voilà!
ENG:
You alreadyknow, I can’t buy anymore clothing without asking myself where it was made. But I love the basic good quality items and I often find some vintage or deadstock ones in my town’s market, to customize or to use as they are.
When I found this sweater I could not believe it: a beautiful camel crewneck, made in scotland 100% wool, by Ballantyne. It was also in my size, a man Small. Bought for 5 euro only, once home I realized what was the problem with it: on the bottom rib, there was a stain too old to be washed away. And now?
I’ve cut the bottom, making it even more feminine, and I added a simple embroidery which puts together my love for traditional Fair Isle designs, graphic and contemporary style. I’m sure there will be a starting point also for your items!
You will need:
A basic sweater
Fabric scissors
Knitting needle, sewing needle
Matching sewing thread
Sewing machine
Pins
Dressmaker’s pencil and ruler (for a geometric design)
Measure tape
Wool yarn in your choice of color
1- Measure the total length that you want your sweater to be, from the shoulder. For example I counted 50 cm but I’m only 1.60 cm Then add to extra cm for the seam and the hem, then cut the fabric straight.
2-With the sewing machine, make a zig-zag seam on the edge of the fabric.
3-Turn the sweater inside out and fold the edge stopping him with some pins.
4- With needle and thread, make some short sewing points, stopping the hem.
5- With a pencil, trace the design you want to embroidery. If geometric like I did, divide the collar neck in equal pieces with the help of a metre.Then trace a symmetrical designwith the ruler.
6-Now with a knitting needle and some yarn, embroider your design! Et voila!


